
Printing is not supported at the primary Gallery Thumbnail page. Please first navigate to a specific Image before printing.


-

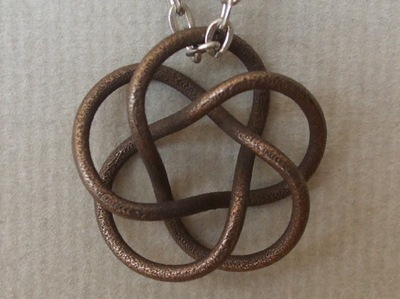
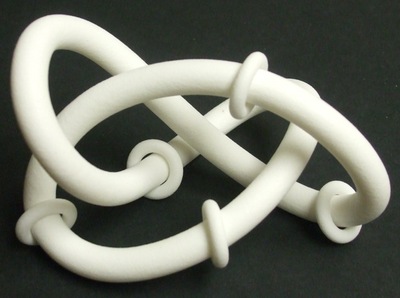
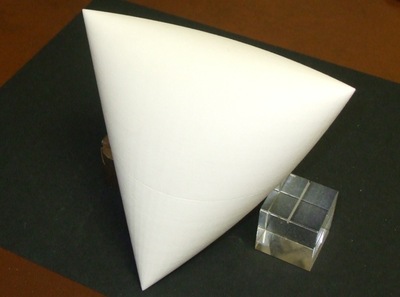
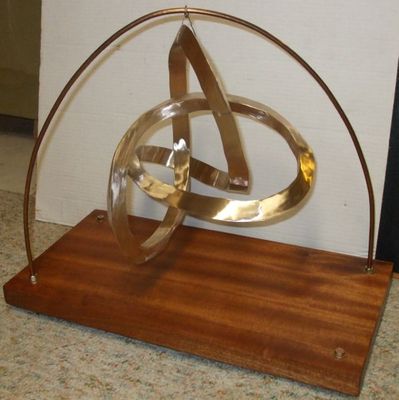
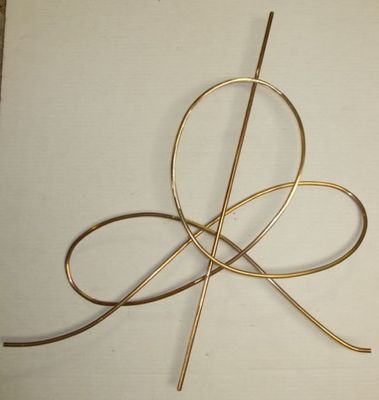
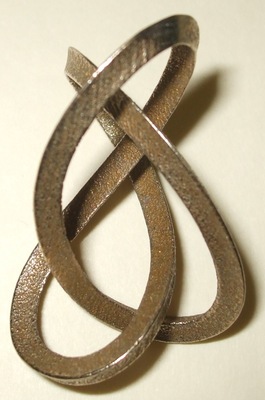
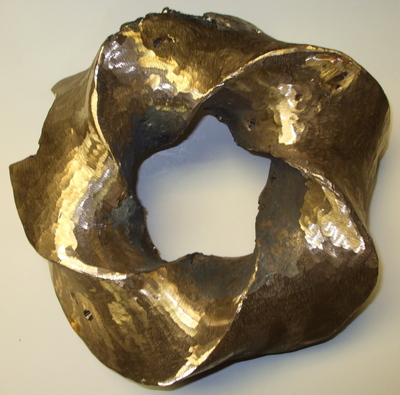
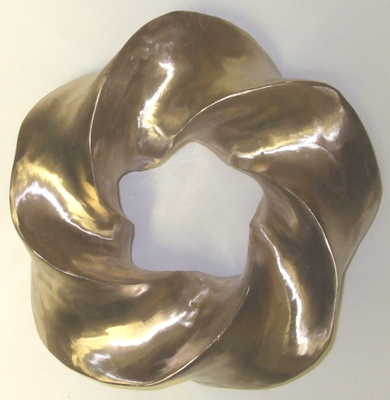
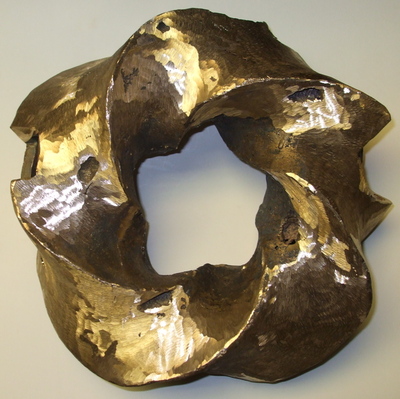
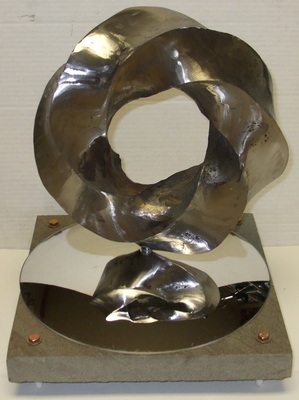
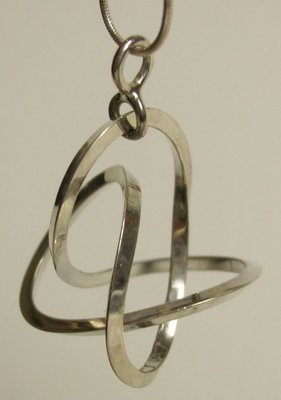
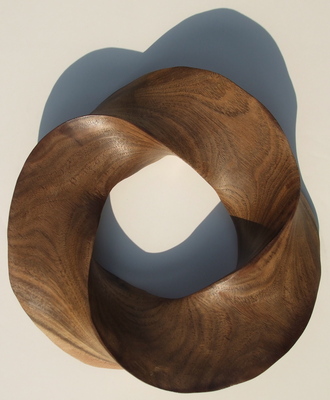
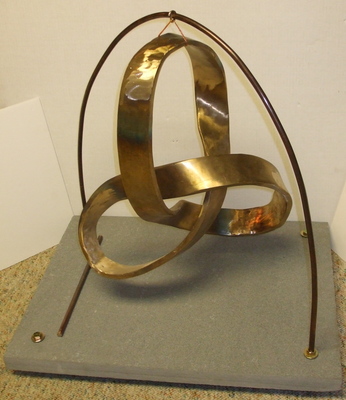
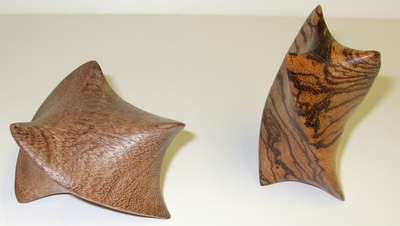
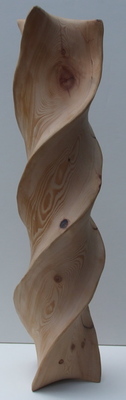
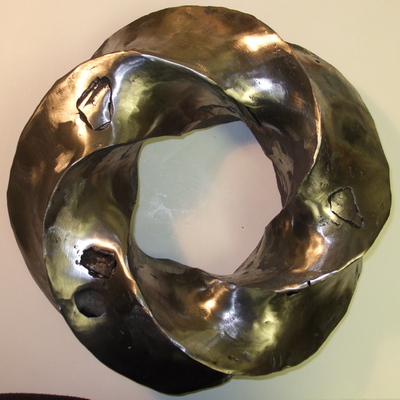
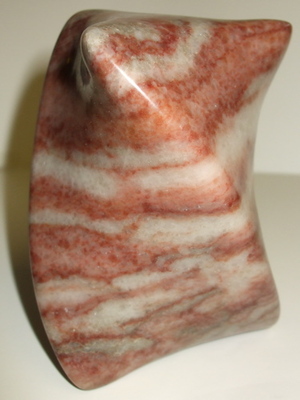
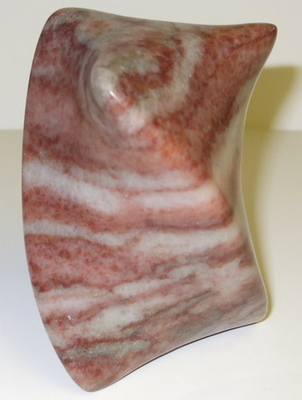
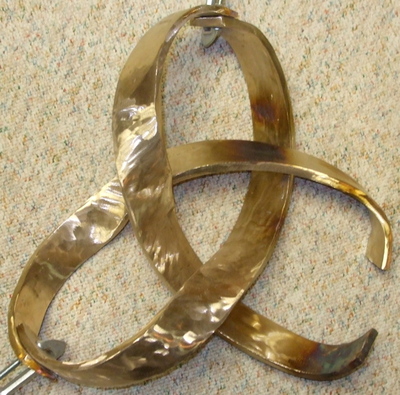
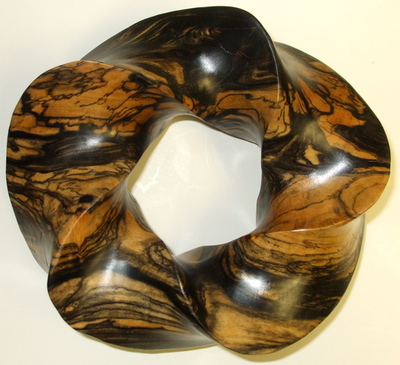
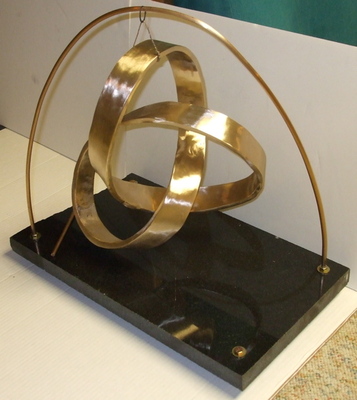
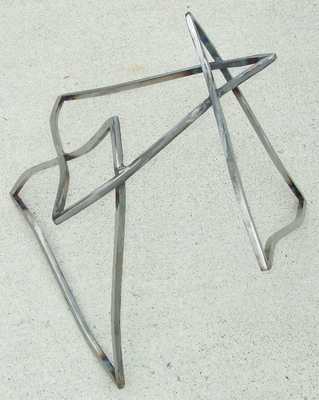
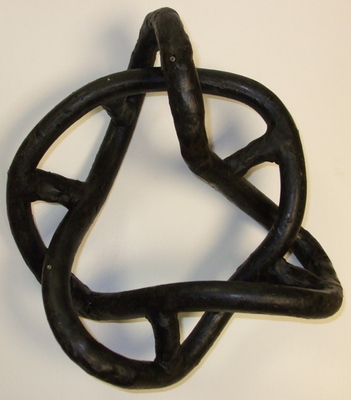
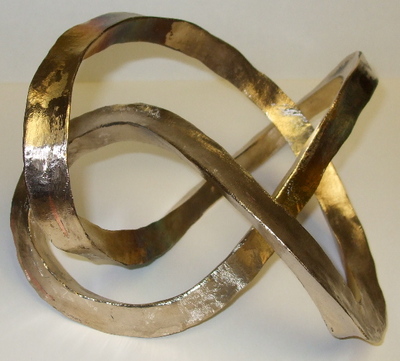
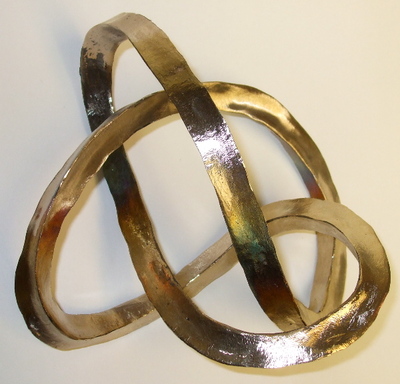
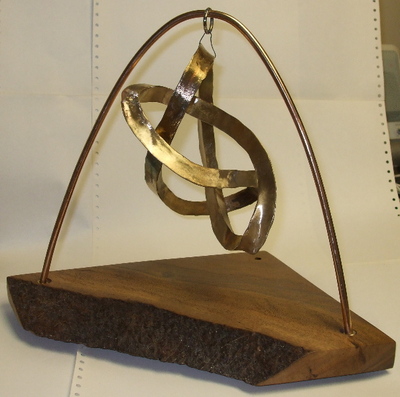
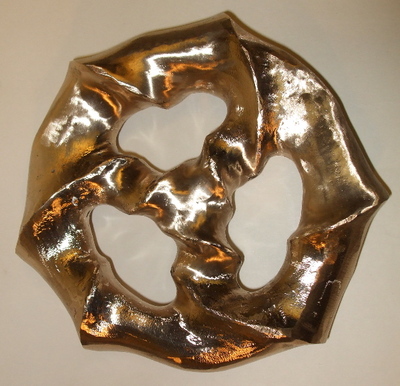
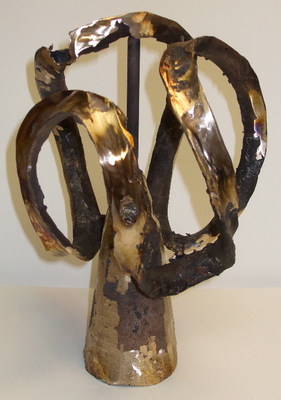
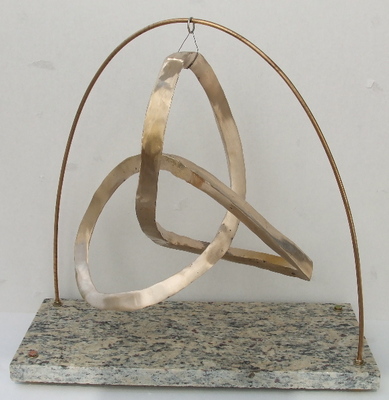
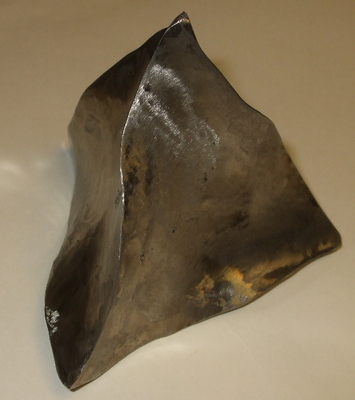
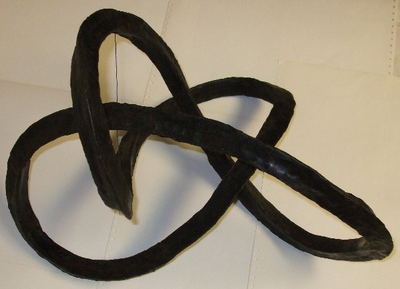
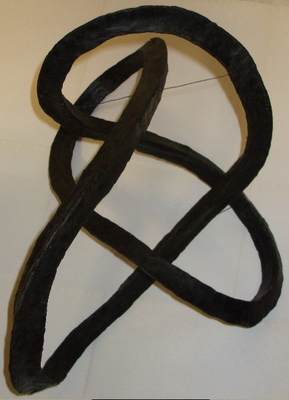
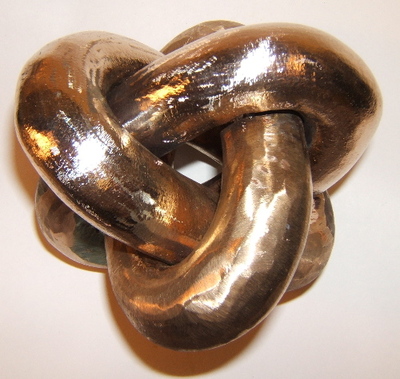
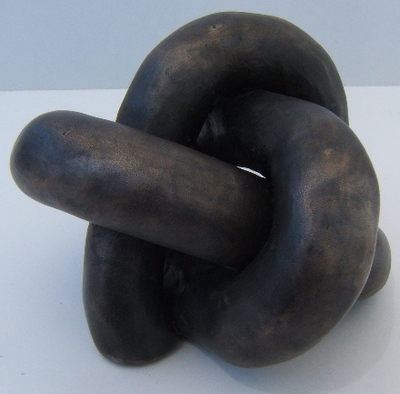
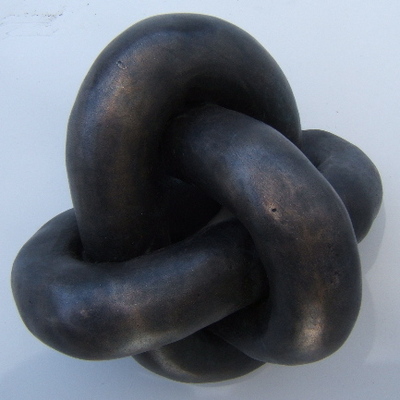
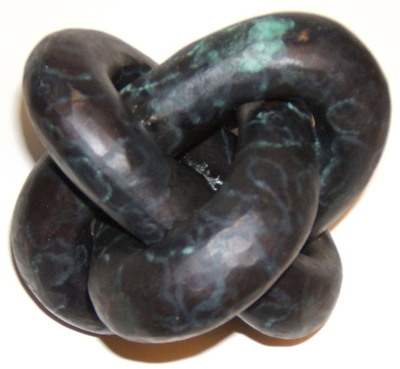
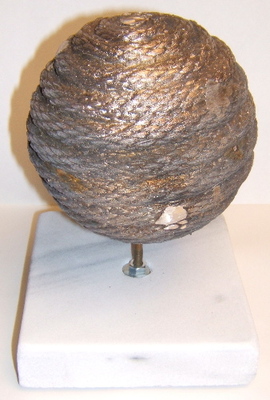
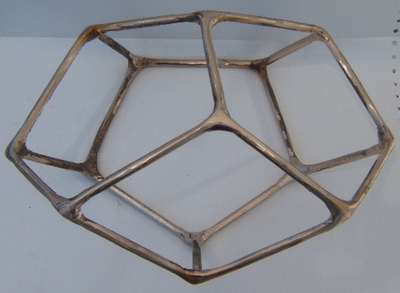
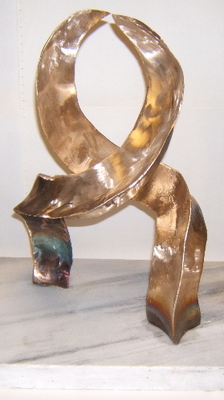
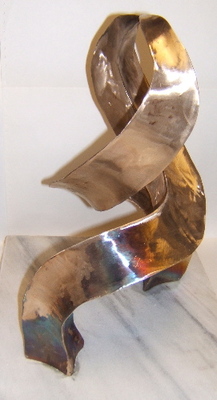
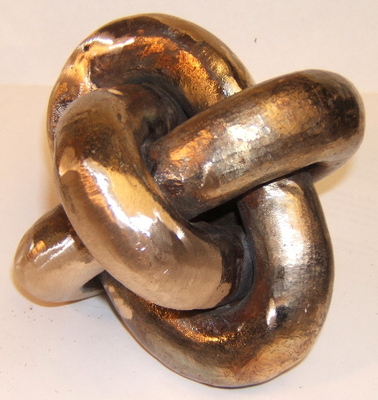
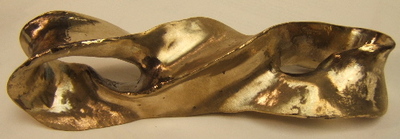
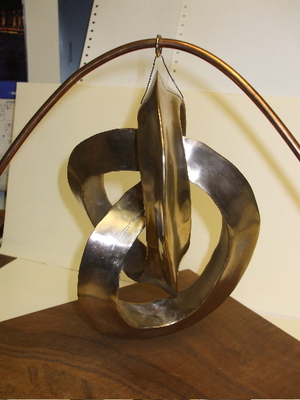
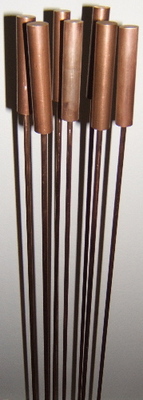
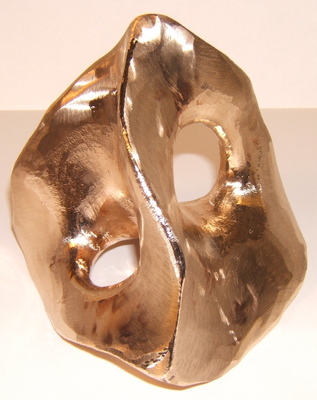
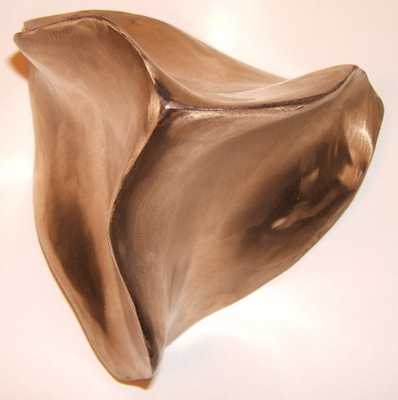
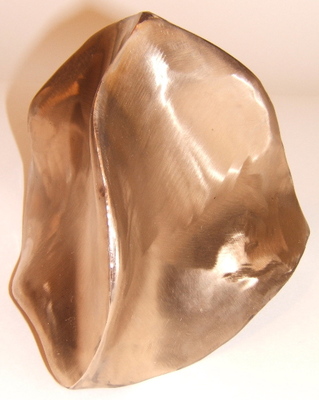
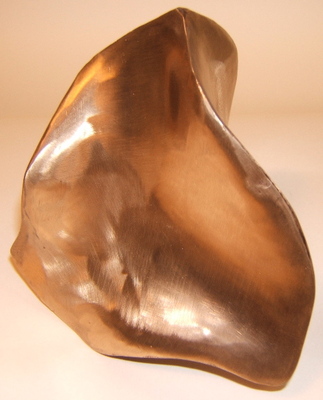
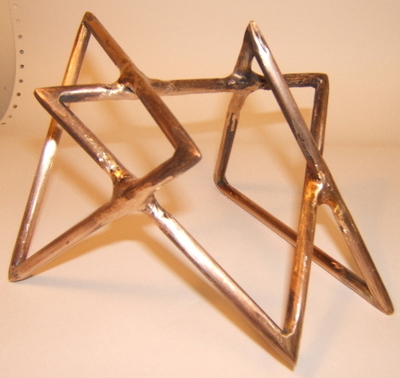
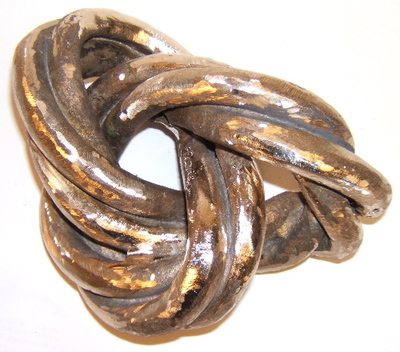
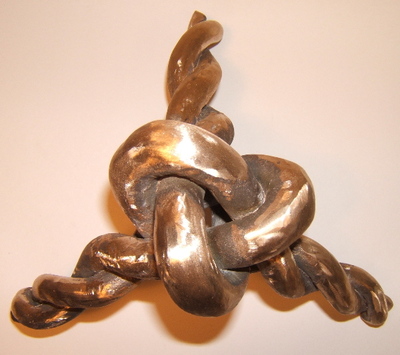
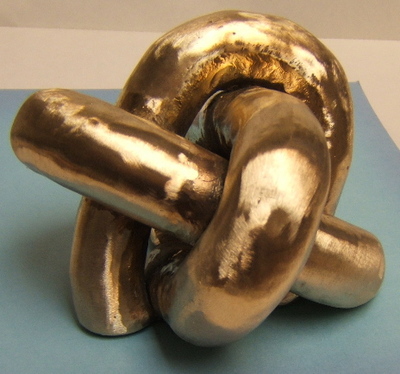
Bronze Open Tetrahedron, Figure 1
-

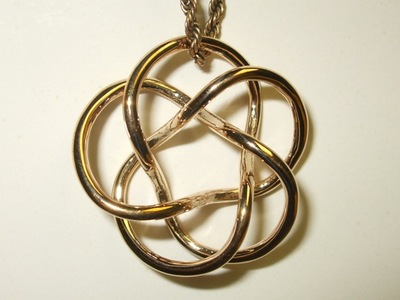
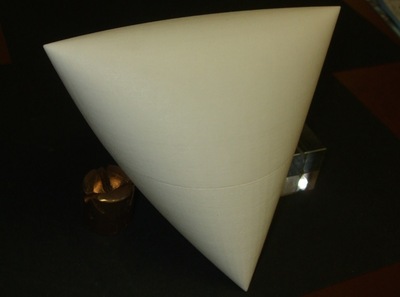
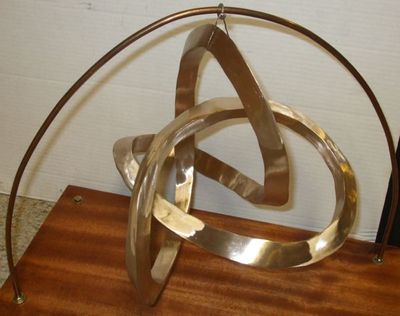
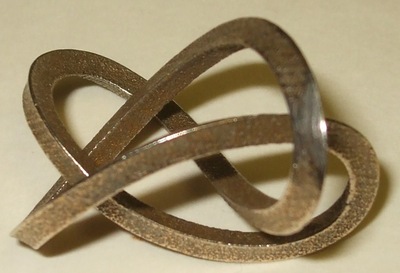
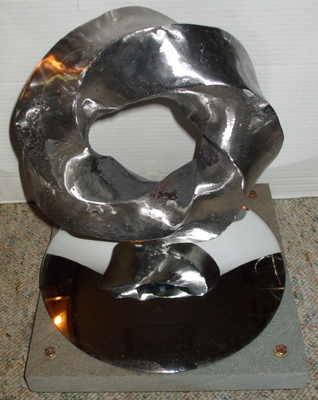
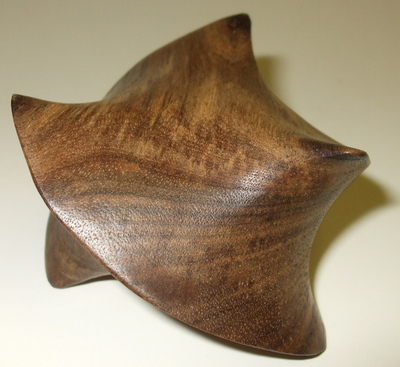
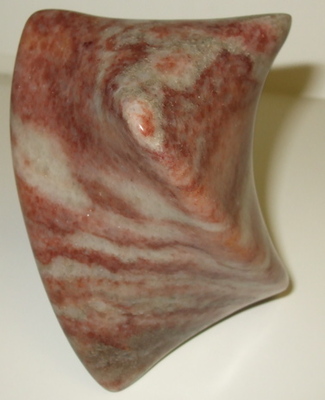
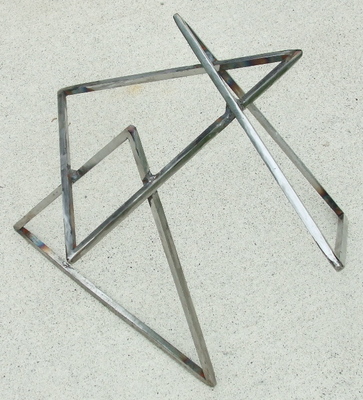
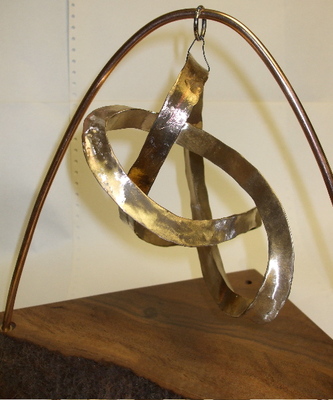
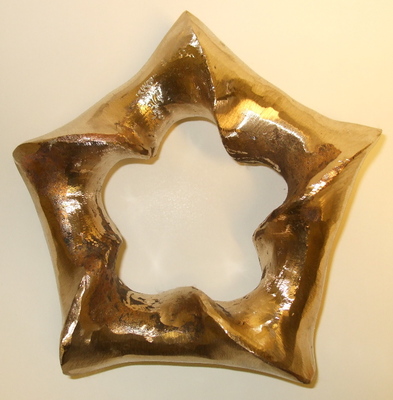
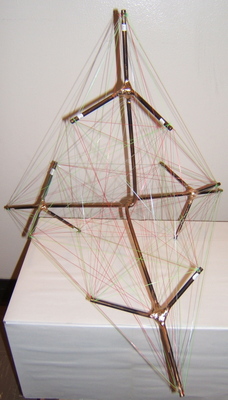
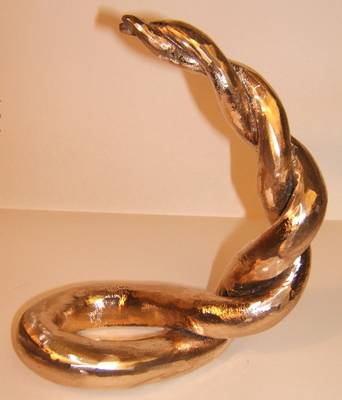
Bronze Open Tetrahedron, Figure 2
-

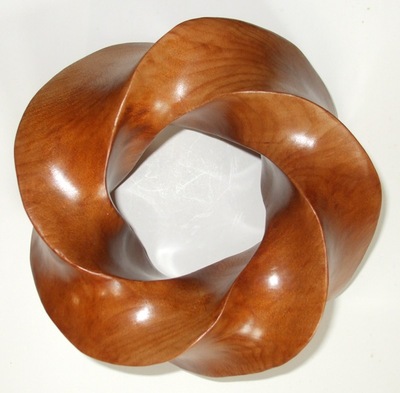
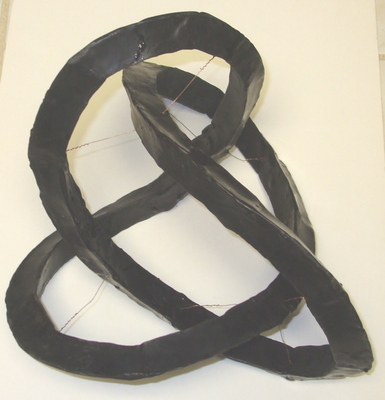
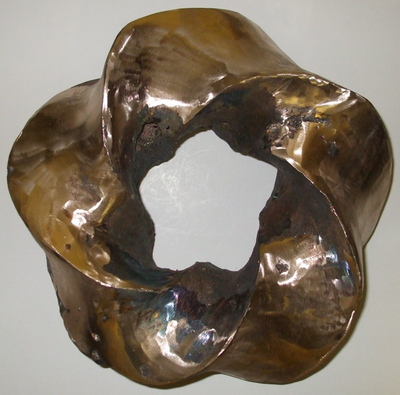
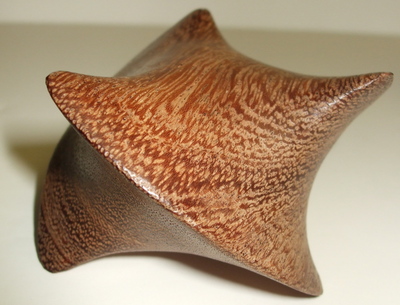
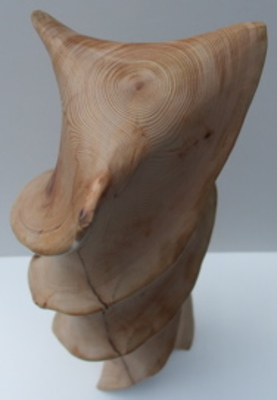
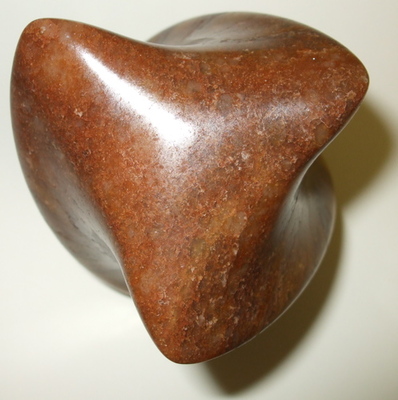
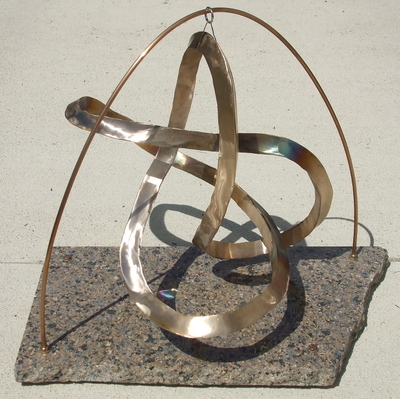
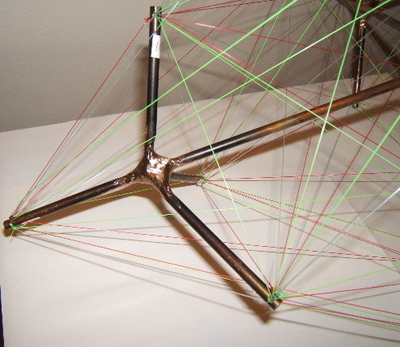
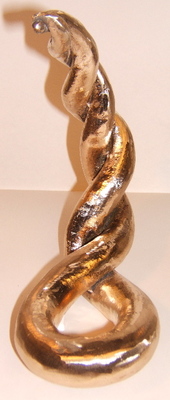
Bronze Open Tetrahedron, Figure 3
-

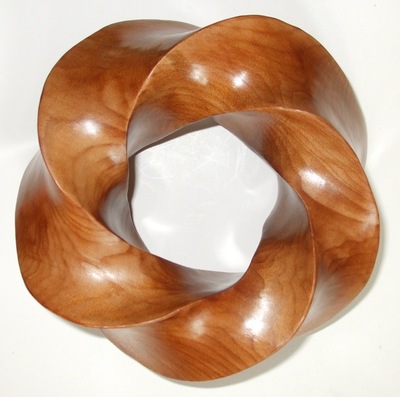
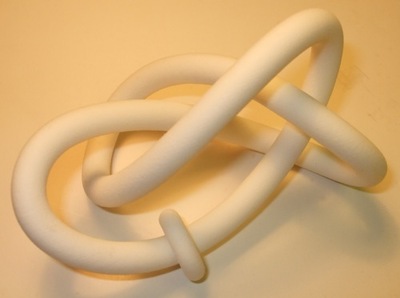
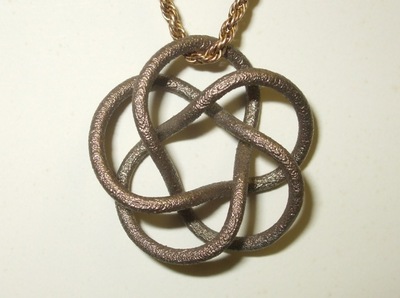
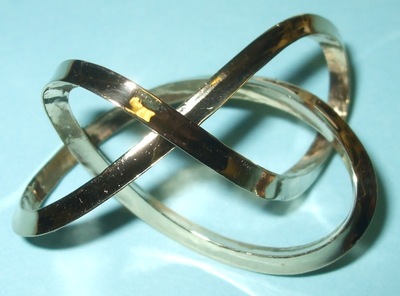
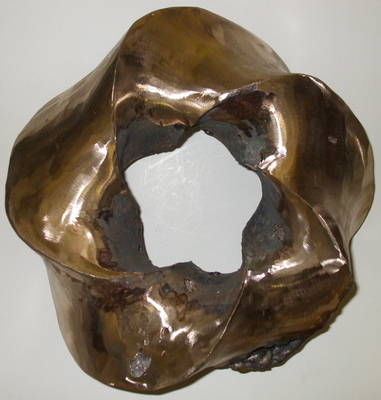
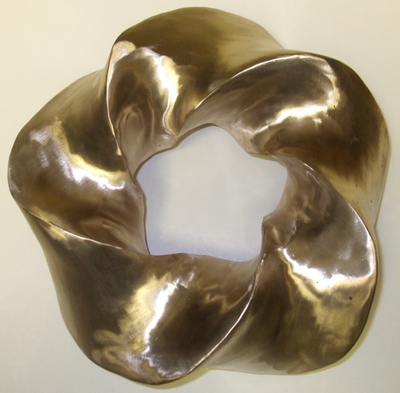
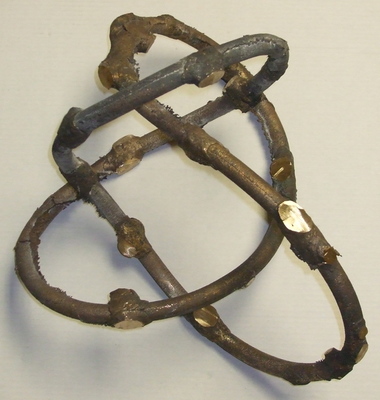
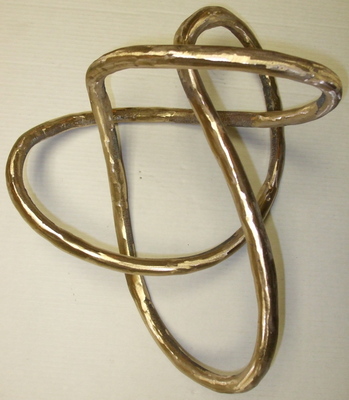
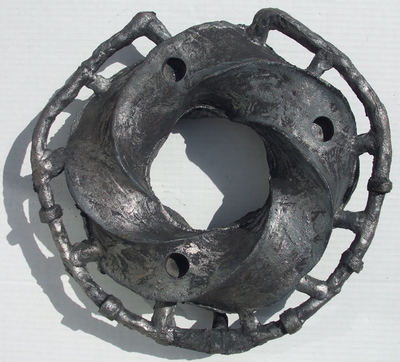
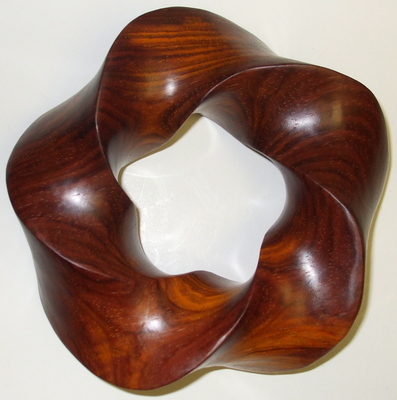
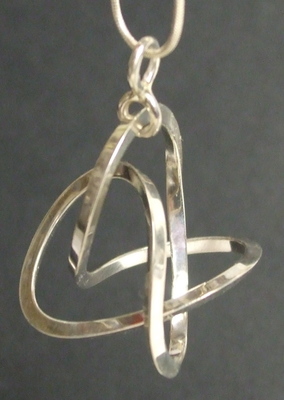
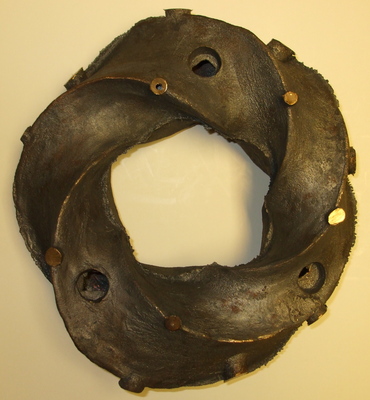
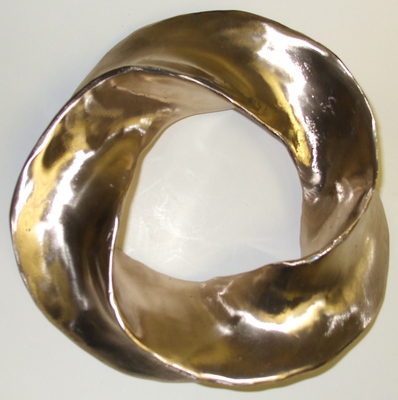
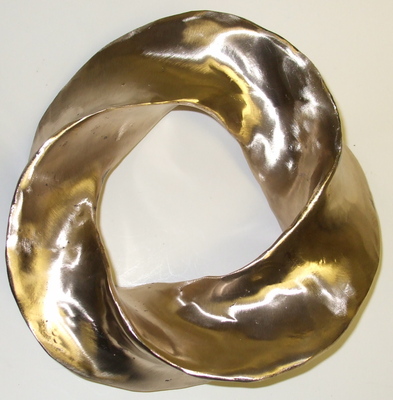
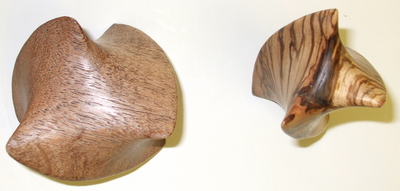
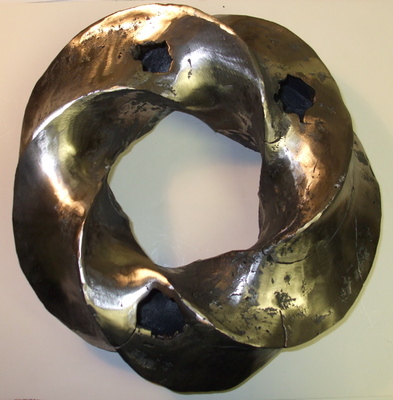
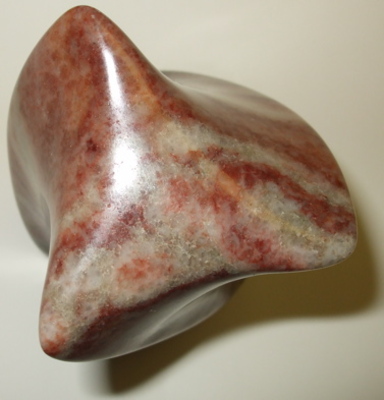
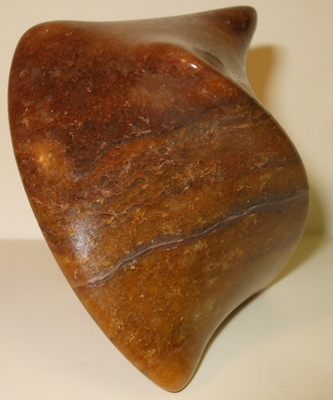
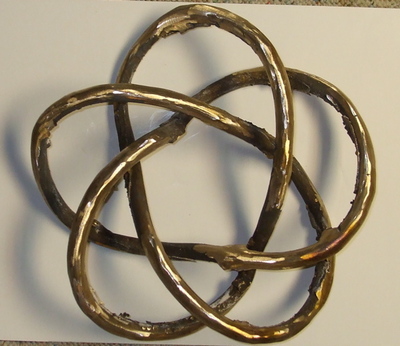
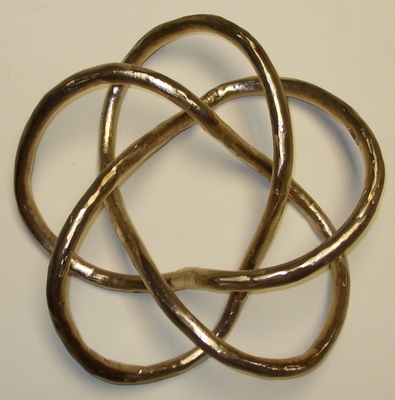
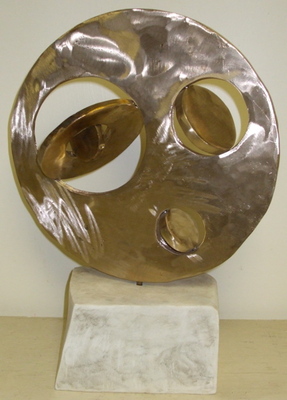
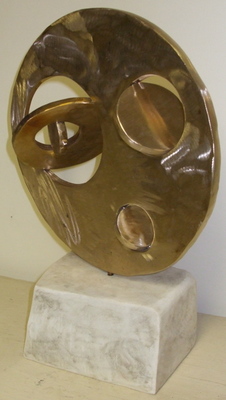
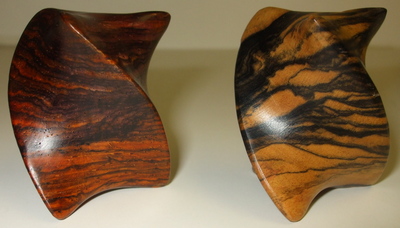
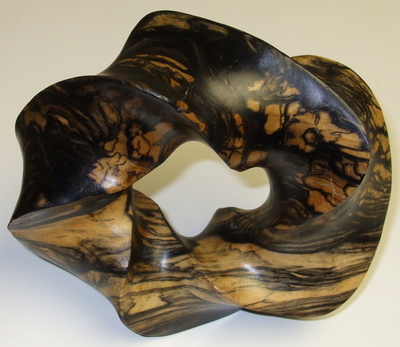
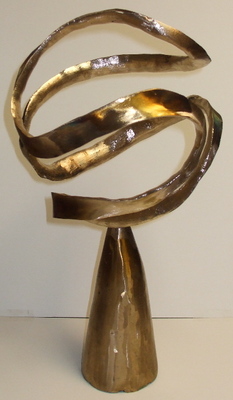
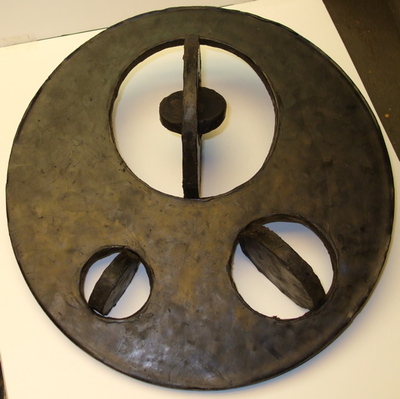
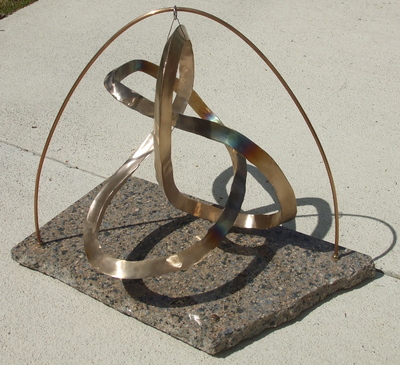
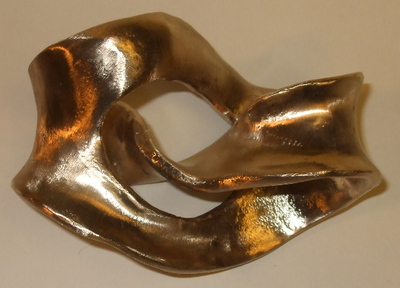
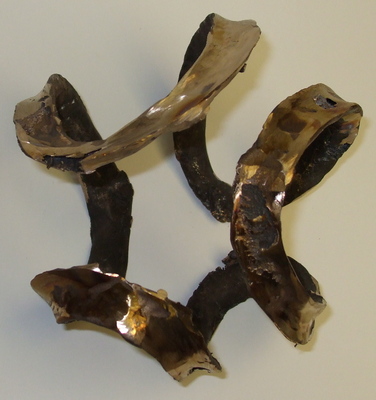
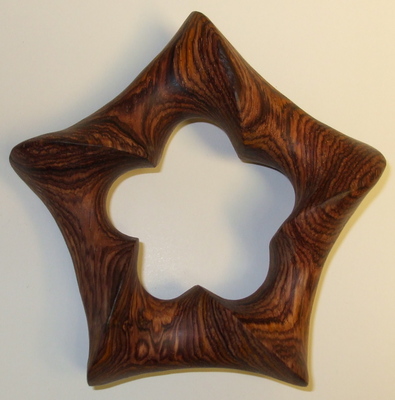
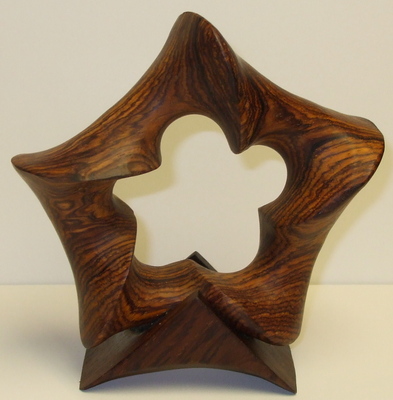
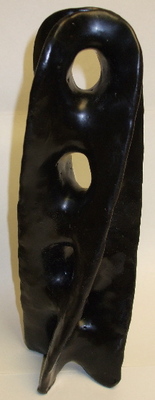
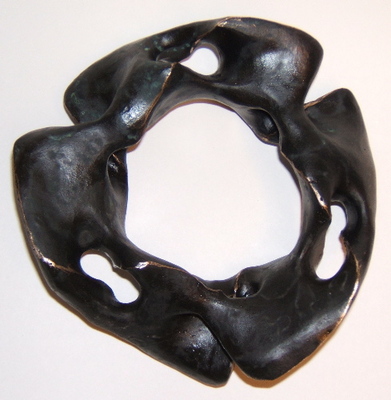
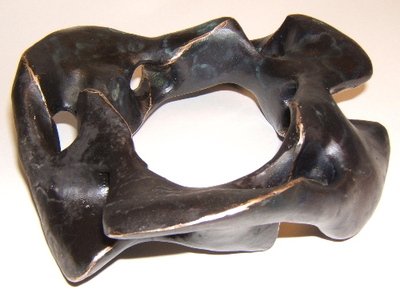
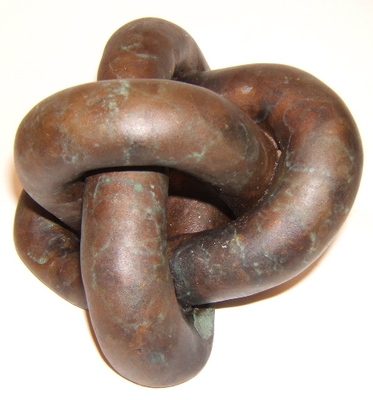
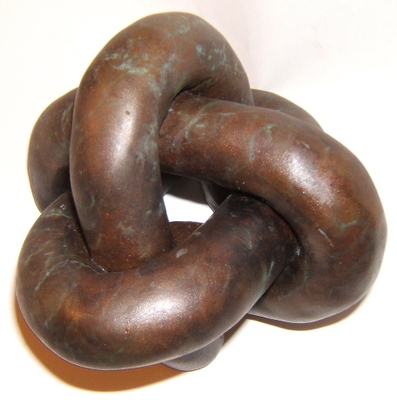
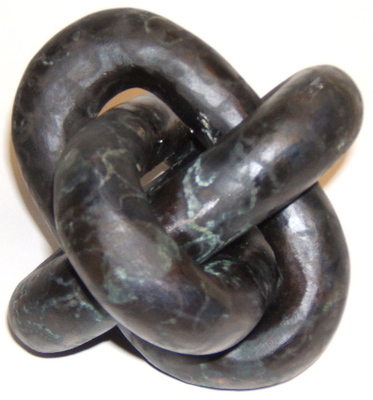
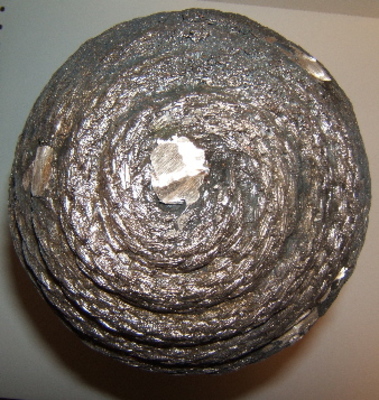
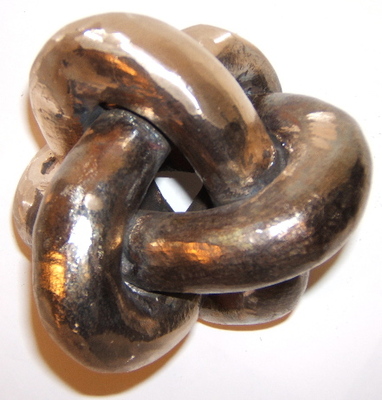
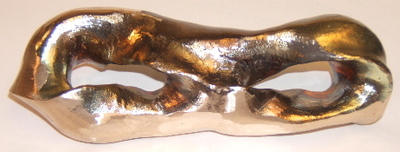
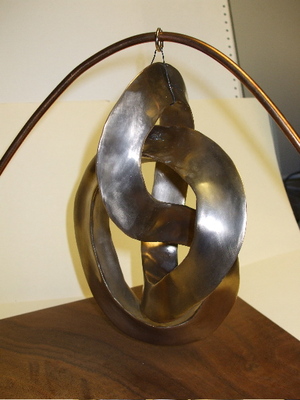
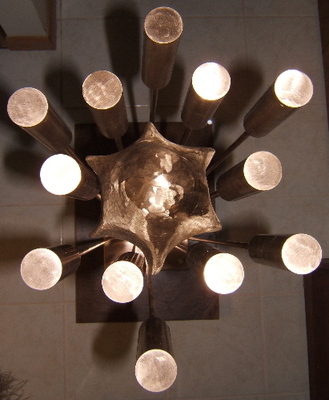
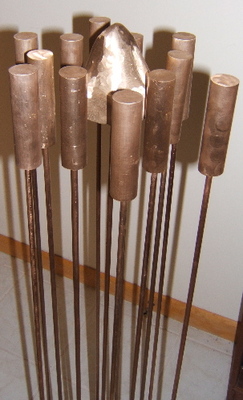
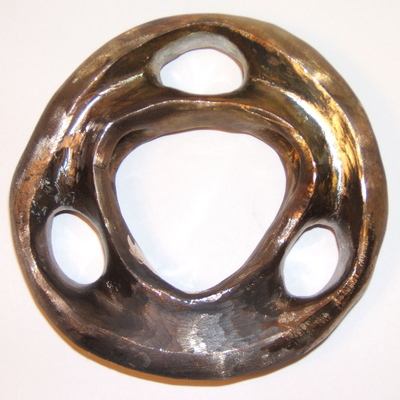
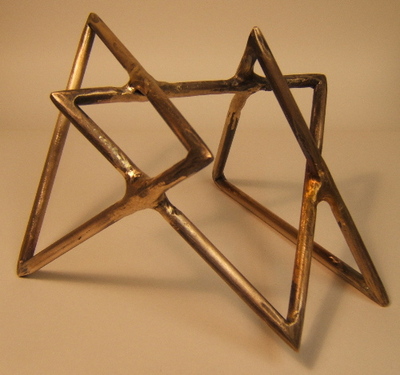
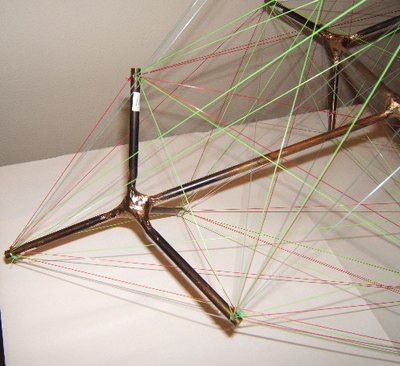
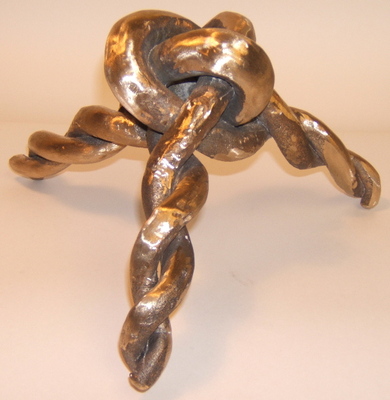
Bronze Paired Hole Tetrahedron, Figure 1
-

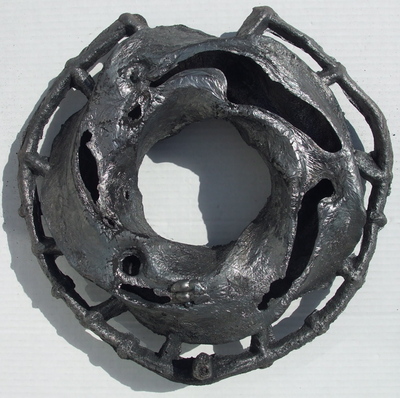
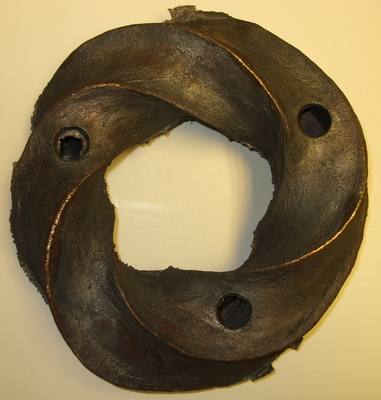
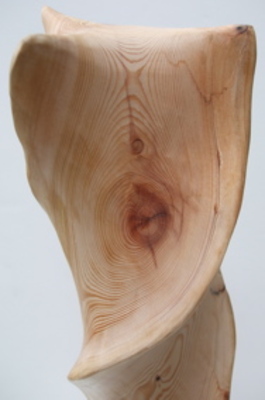
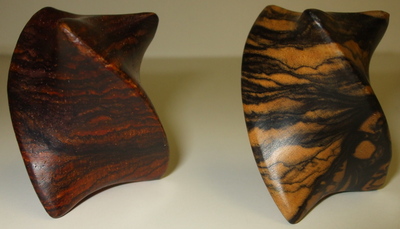
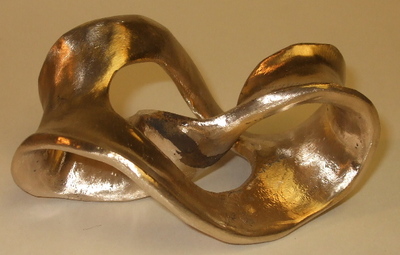
Bronze Paired Hole Tetrahedron, Figure 2
-

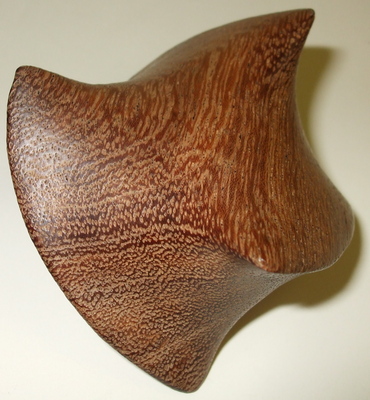
Bronze Paired Hole Tetrahedron, Figure 3
-

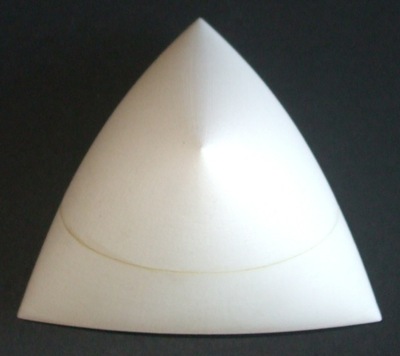
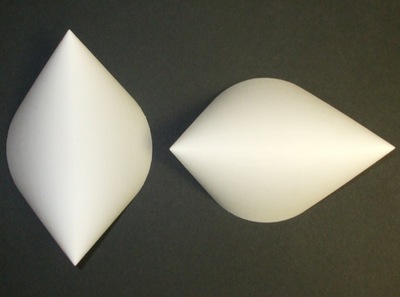
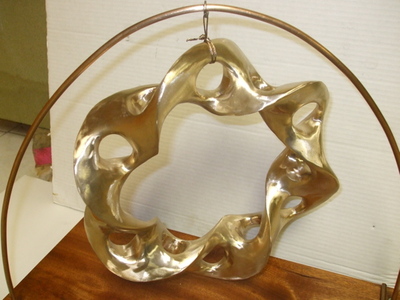
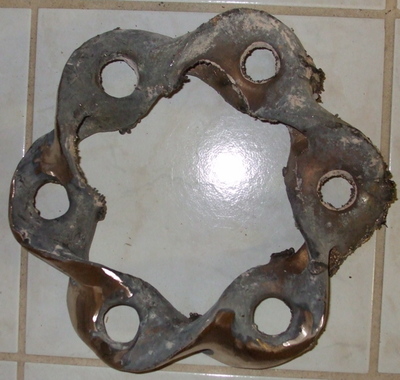
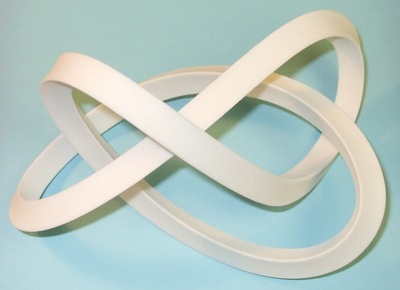
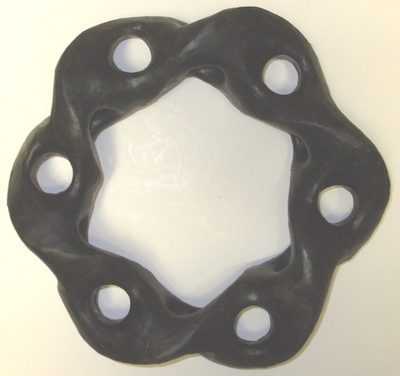
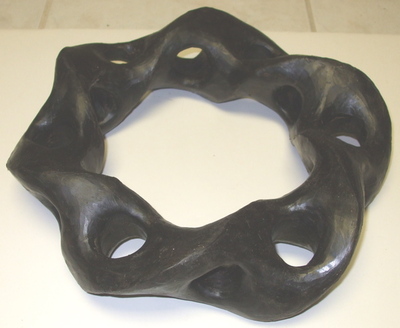
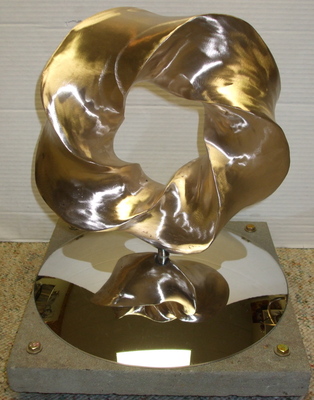
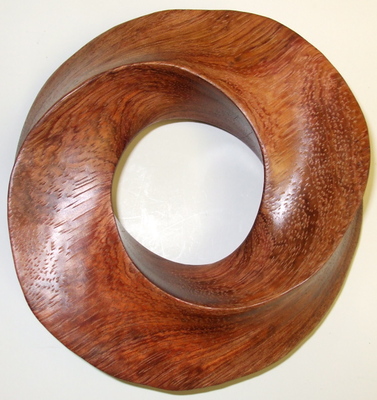
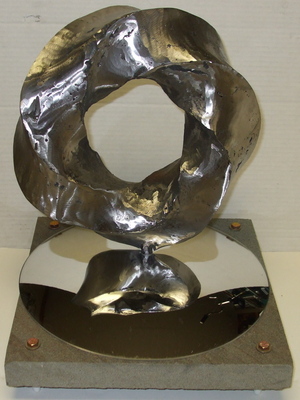
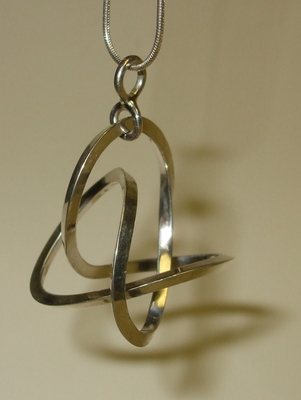
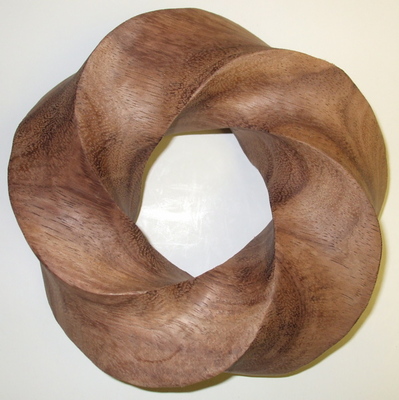
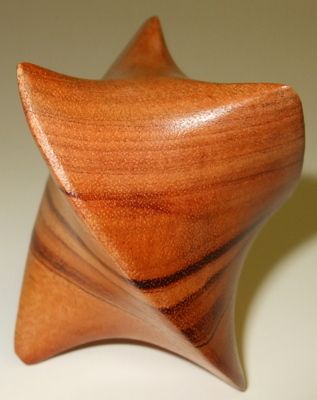
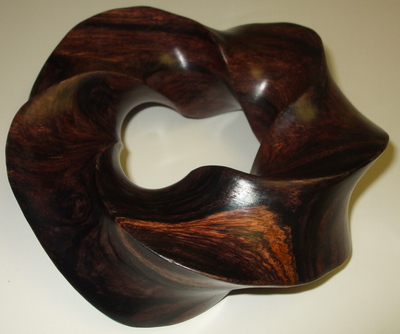
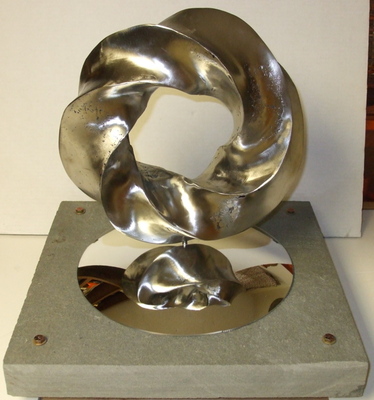
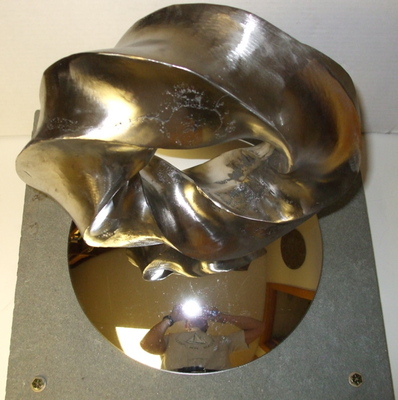
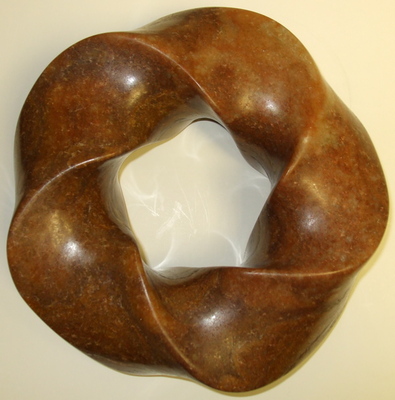
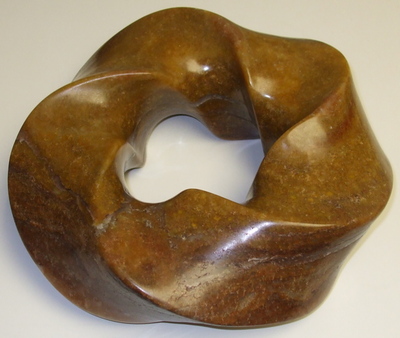
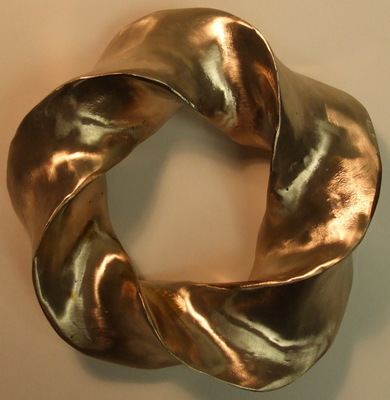
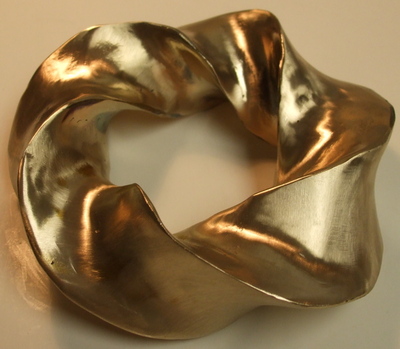
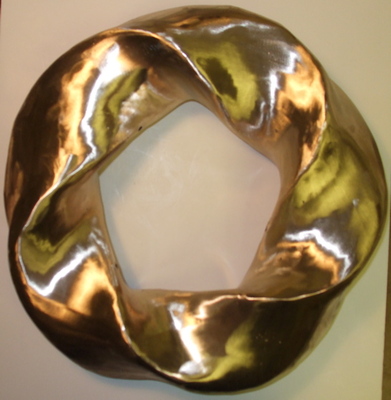
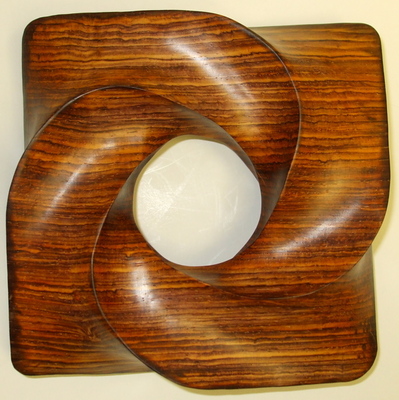
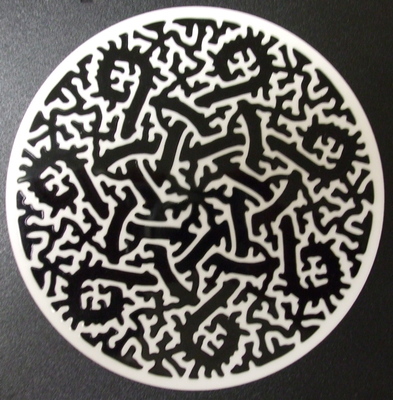
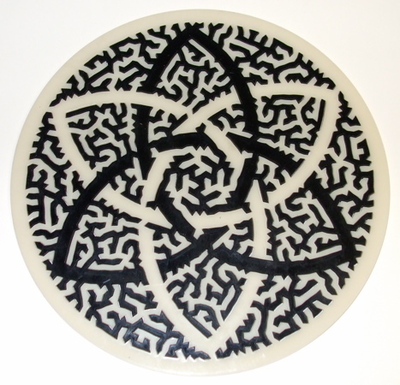
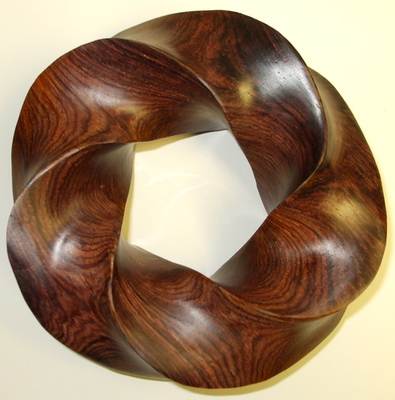
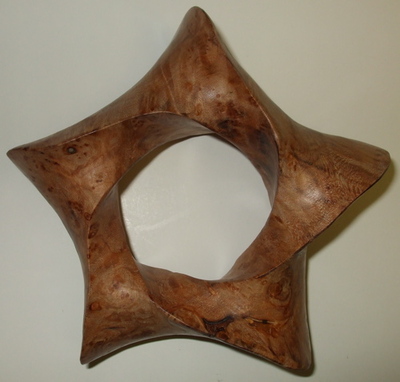
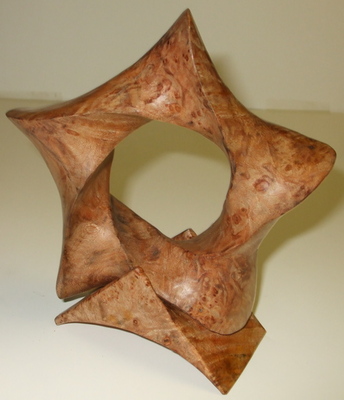
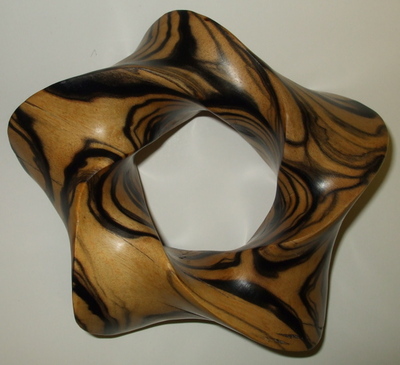
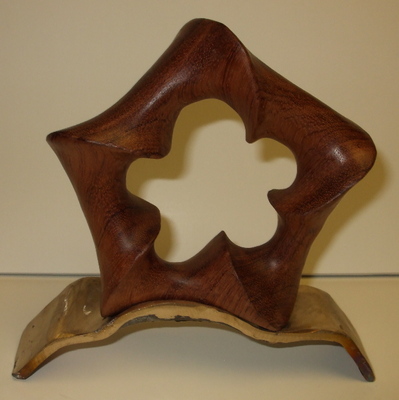
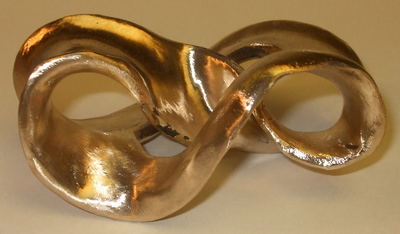
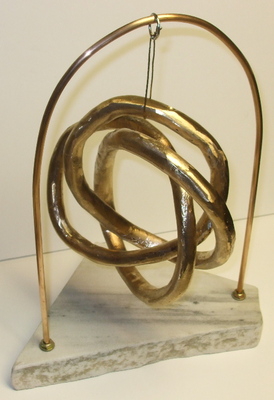
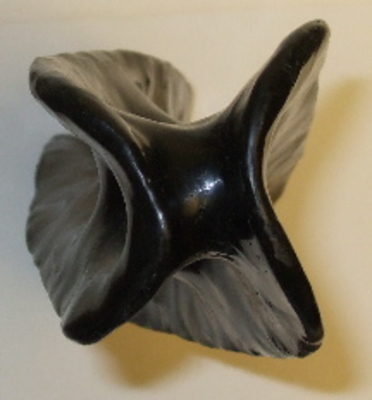
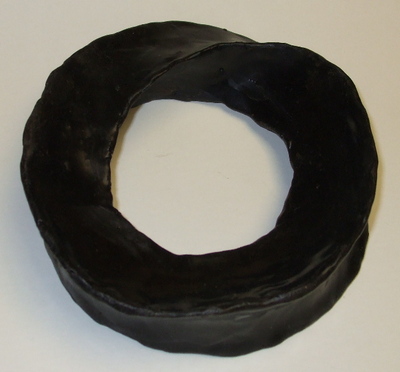
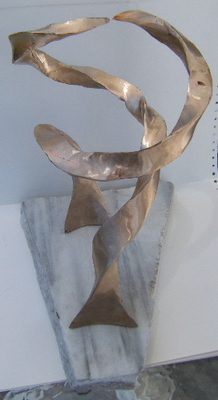
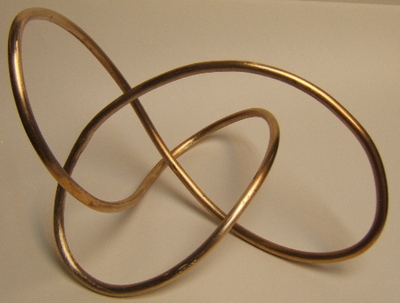
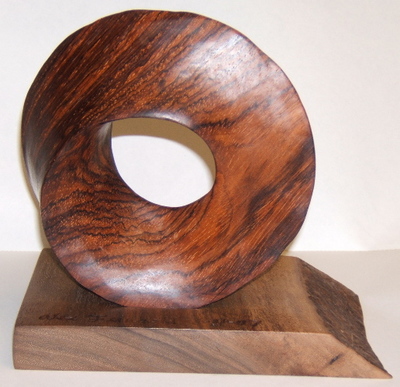
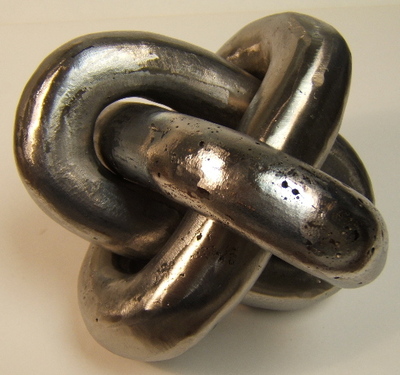
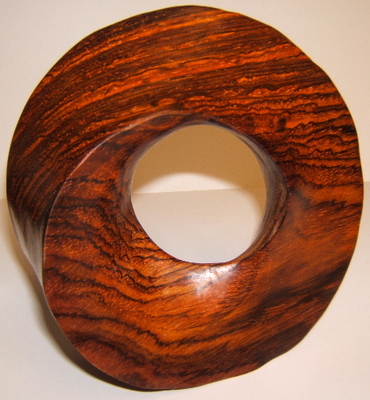
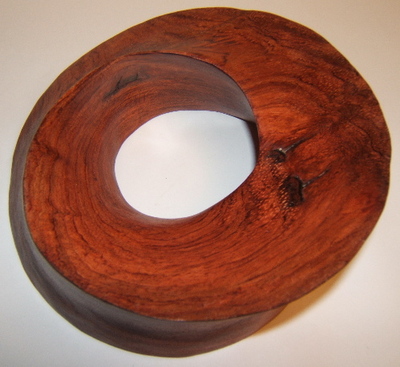
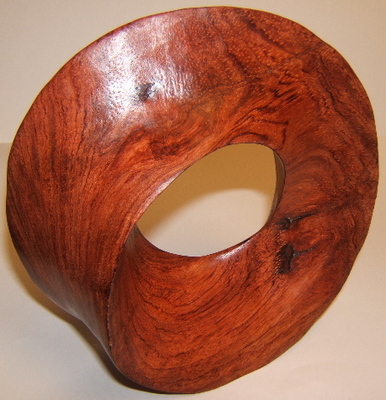
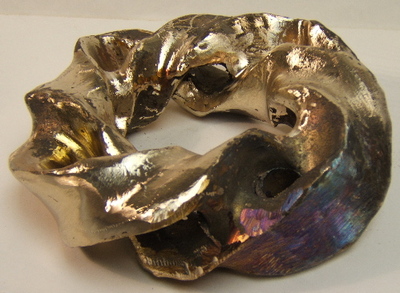
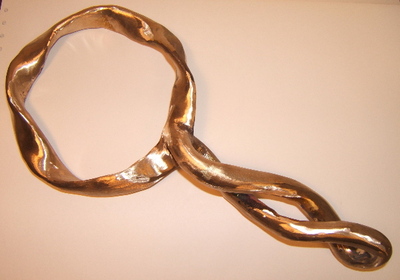
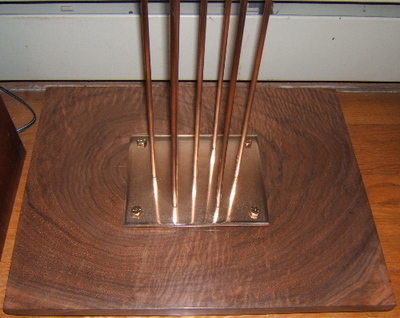
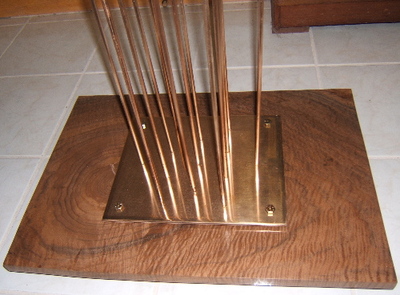
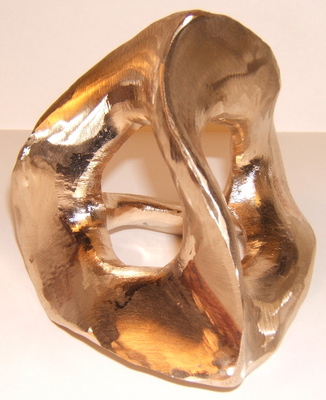
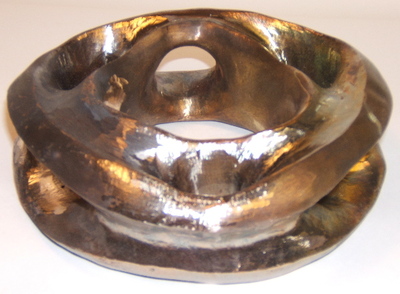
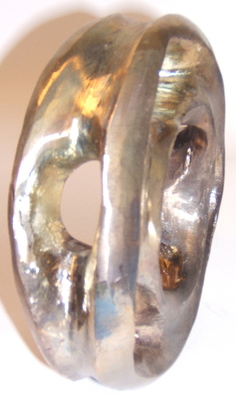
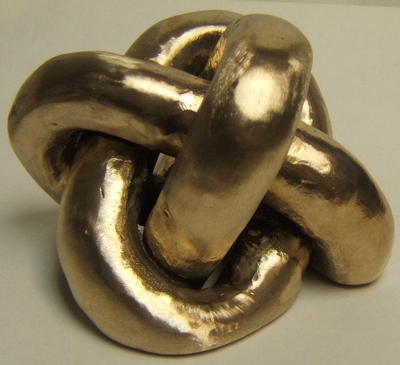
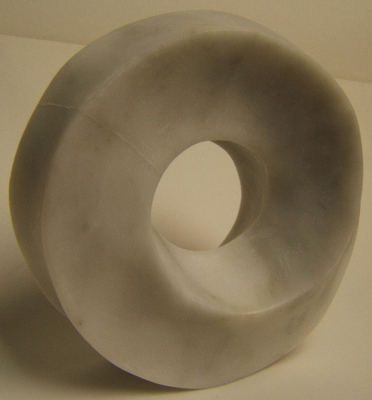
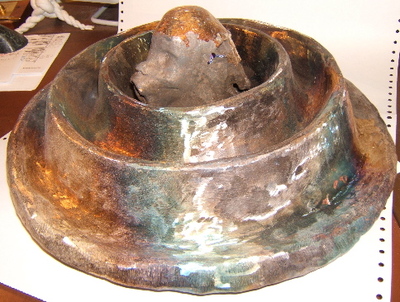
Bronze Punctured Torus, Figure 1
-

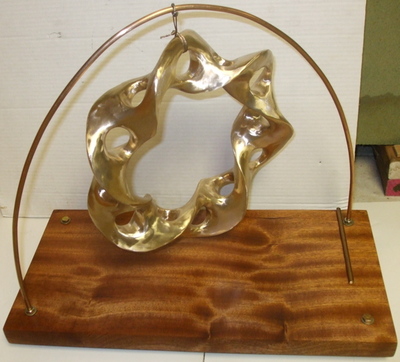
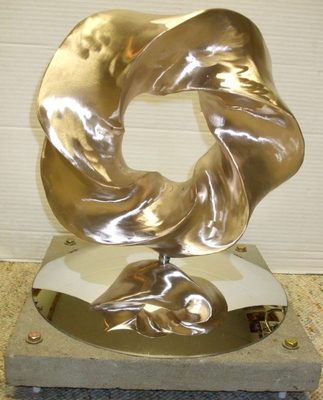
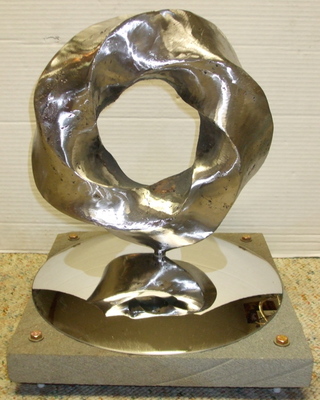
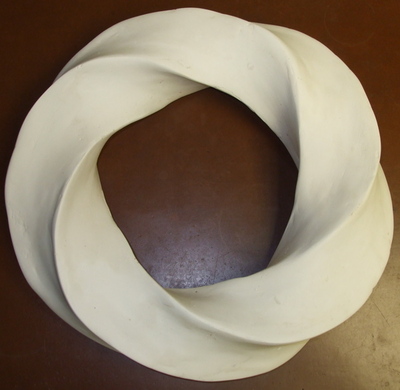
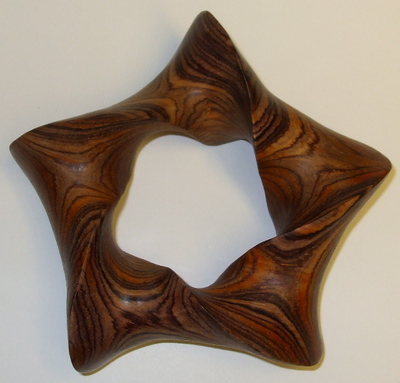
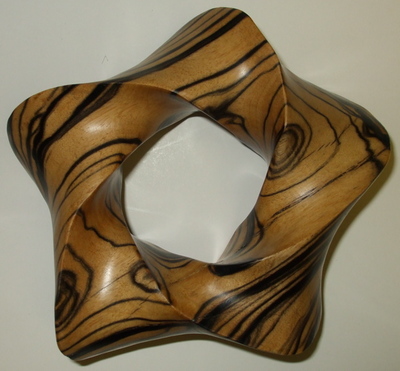
Bronze Punctured Torus, Figure 2