Printing is not supported at the primary Gallery Thumbnail page. Please first navigate to a specific Image before printing.
Skip to main content


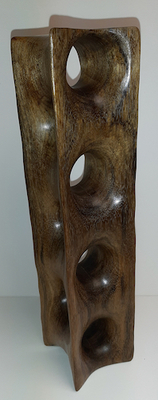
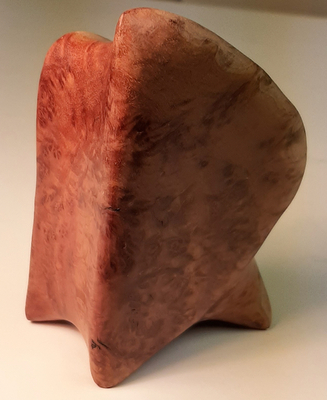
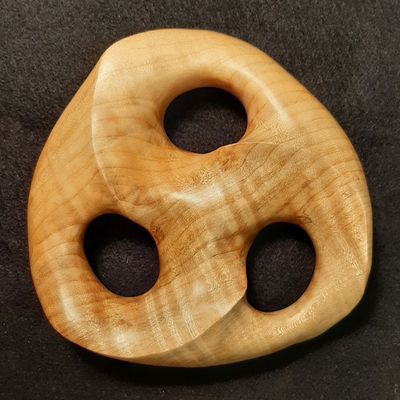
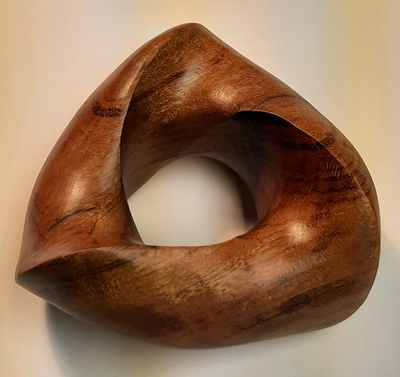
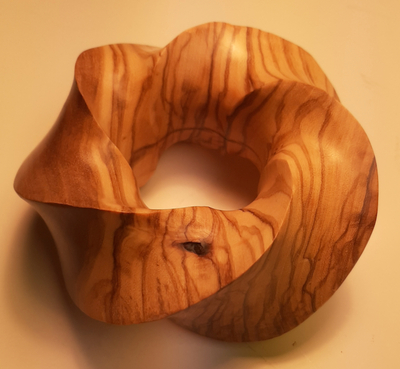
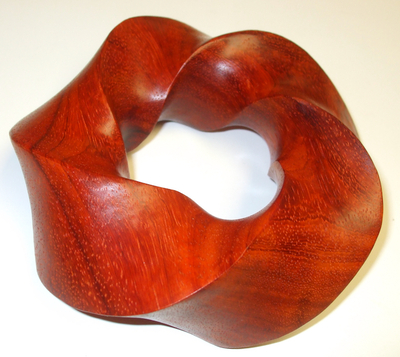
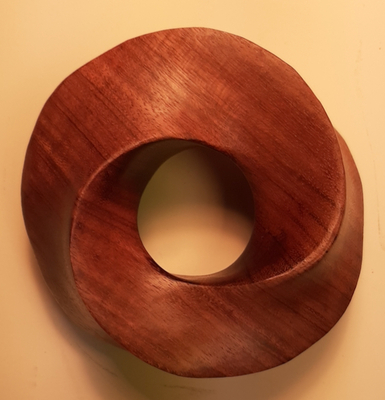
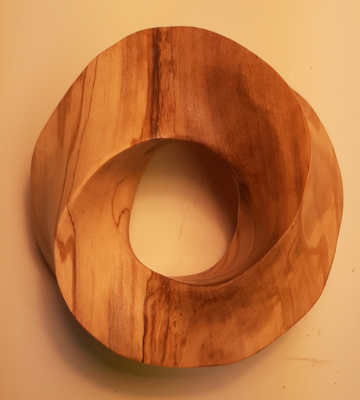
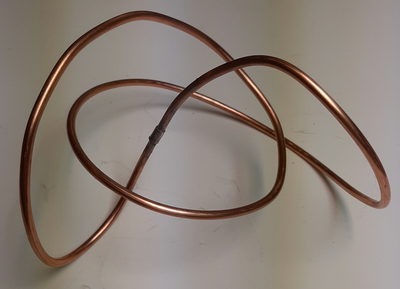
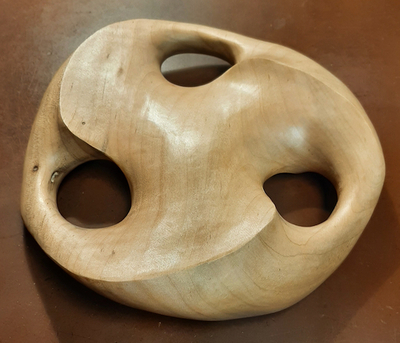
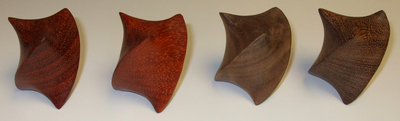
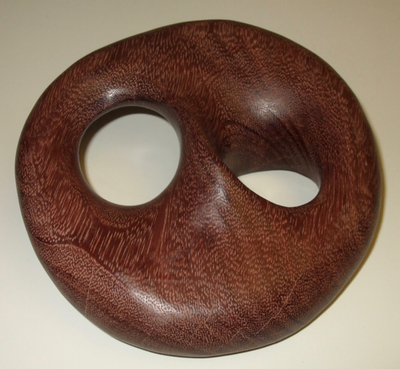
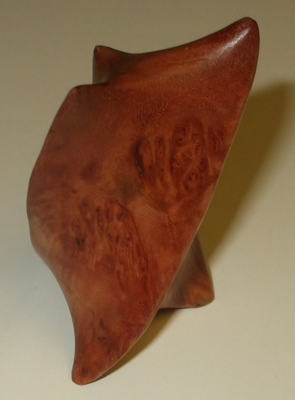
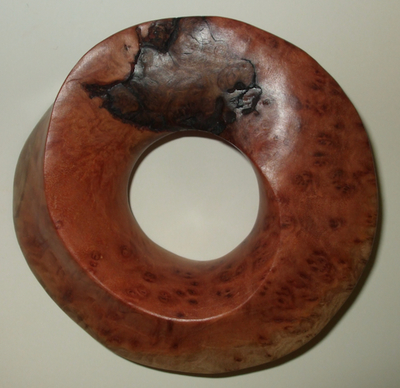
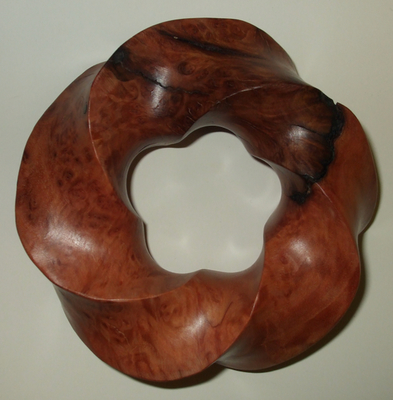
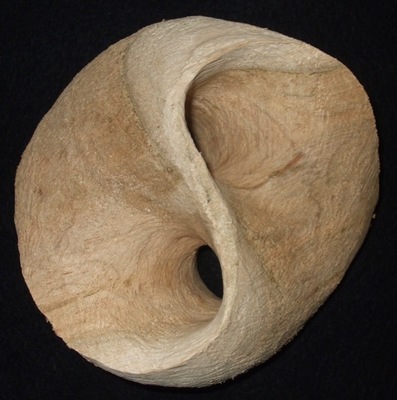
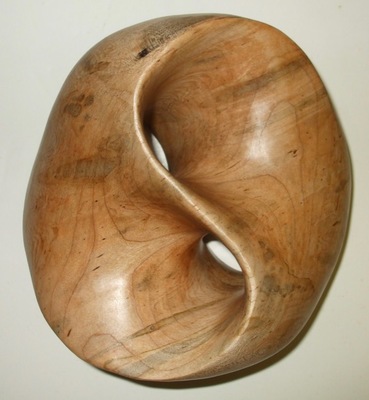
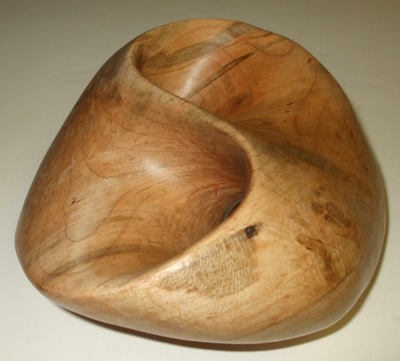
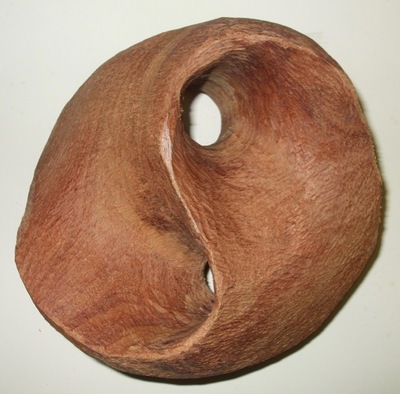
 Torus Knot, Figure 1 by Alex J. Feingold")
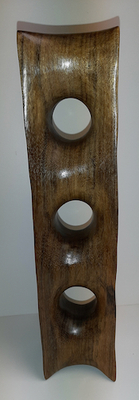
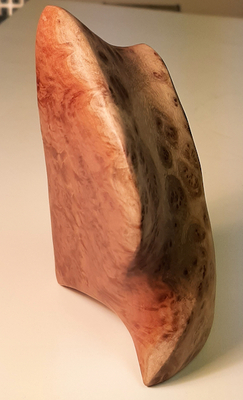
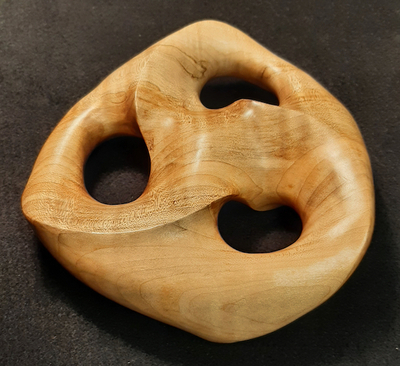
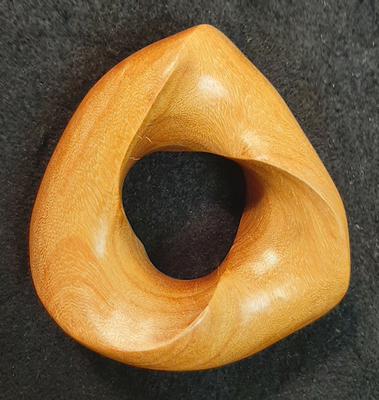
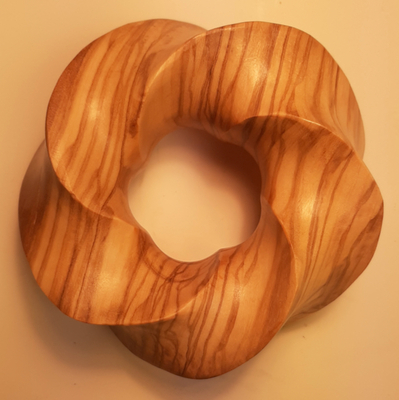
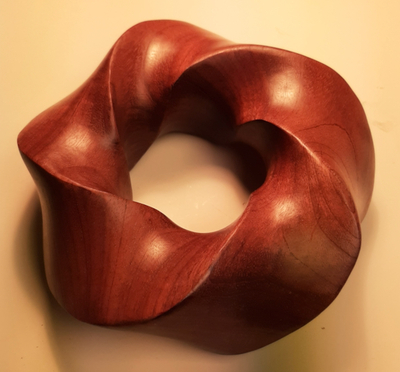
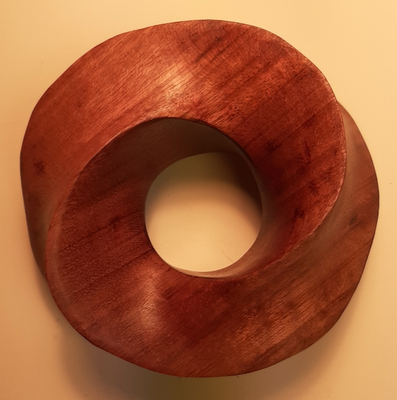
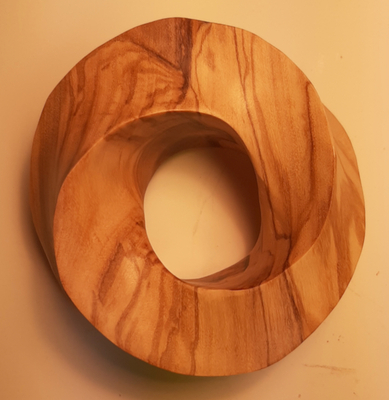
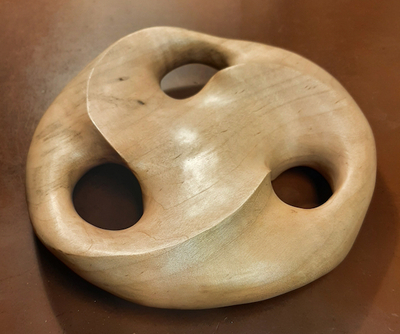
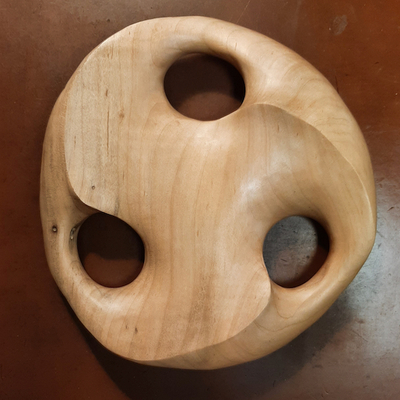
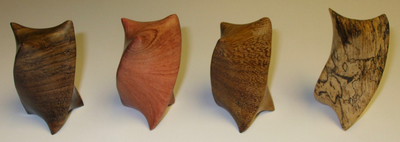
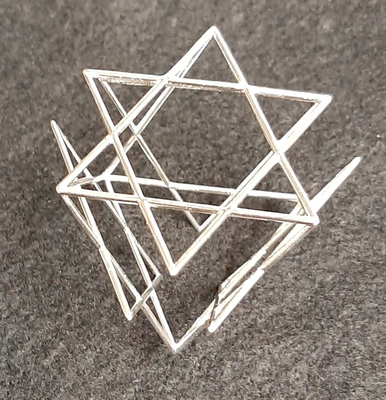
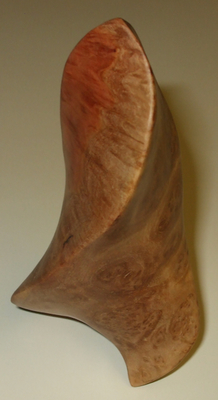
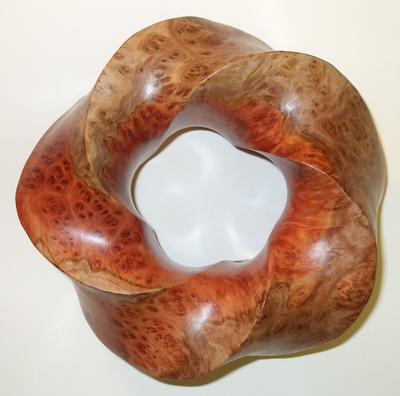
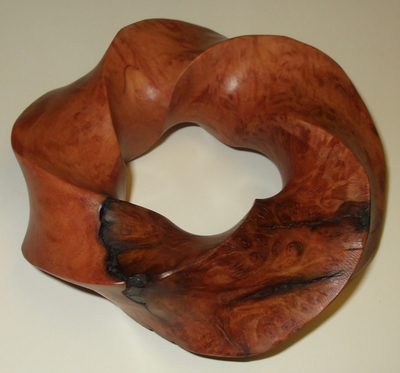
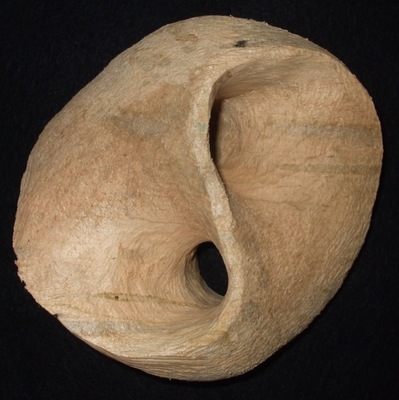
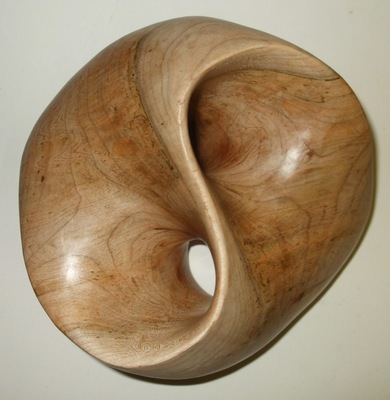
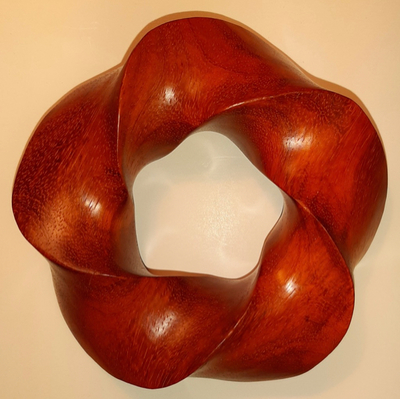
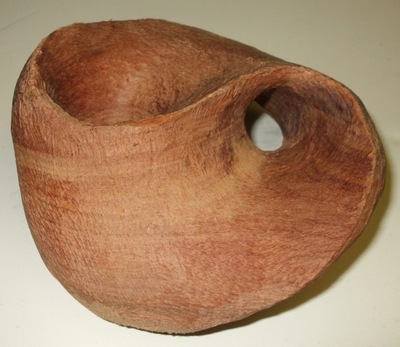
 Torus Knot, Figure 2 by Alex J. Feingold")
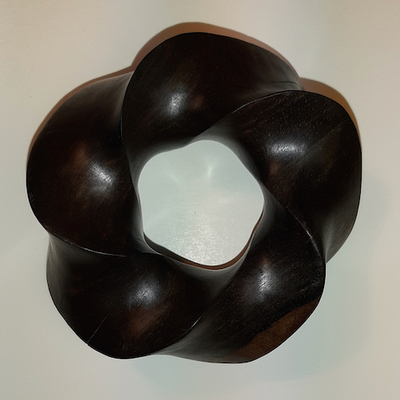
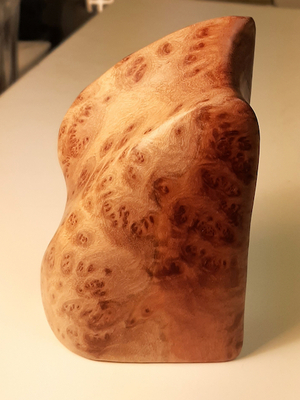
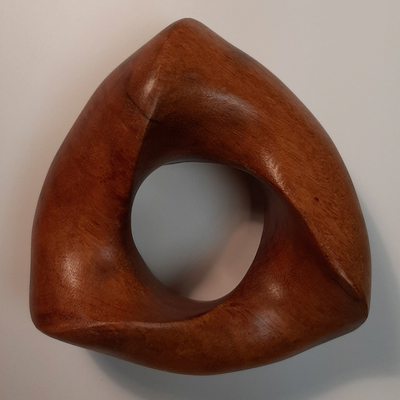
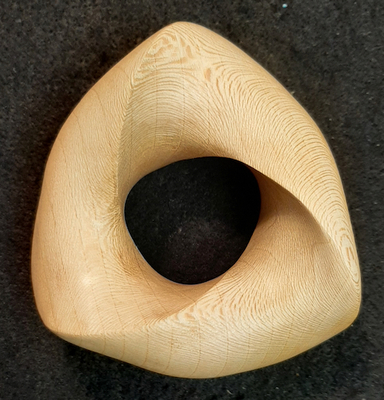
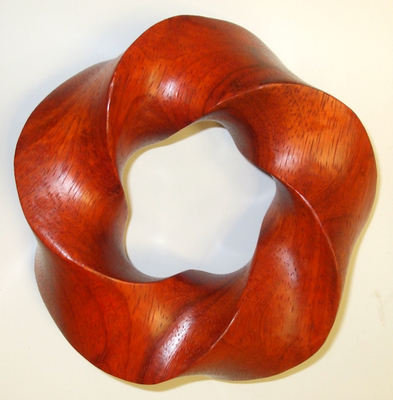
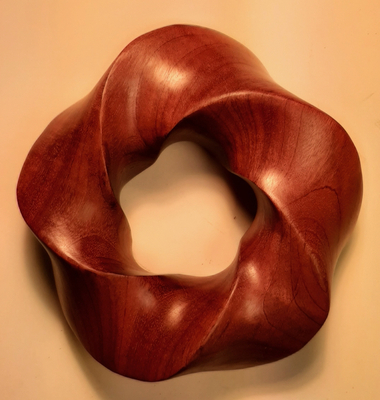
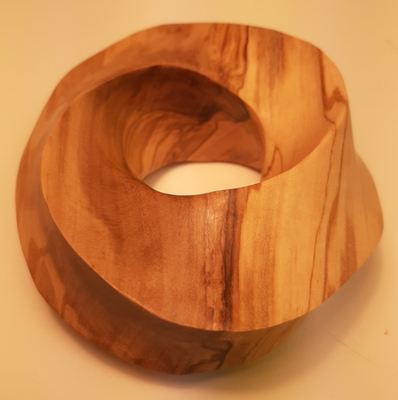
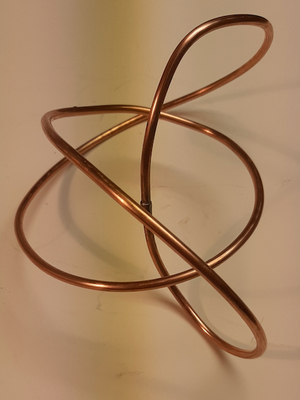
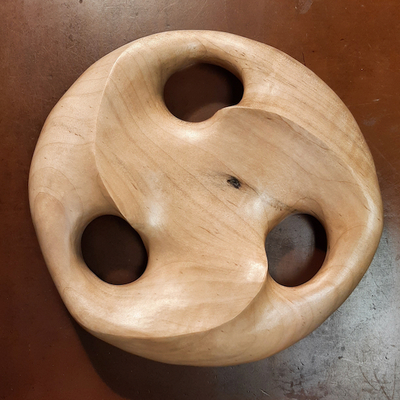
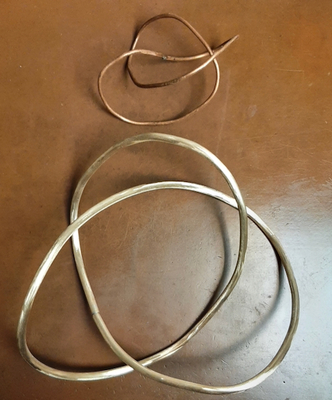
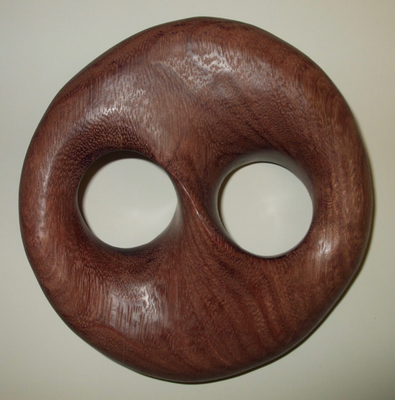
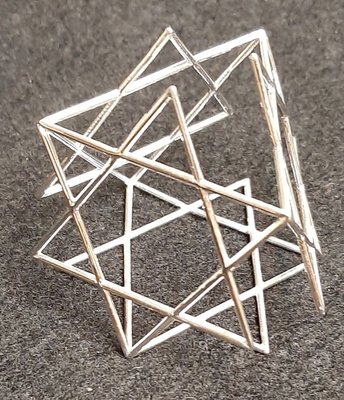
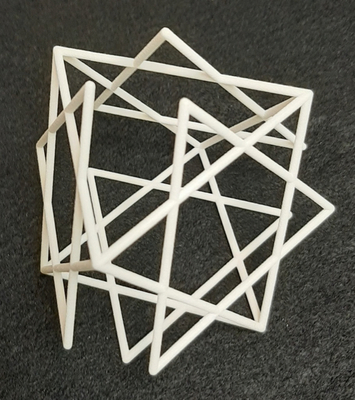
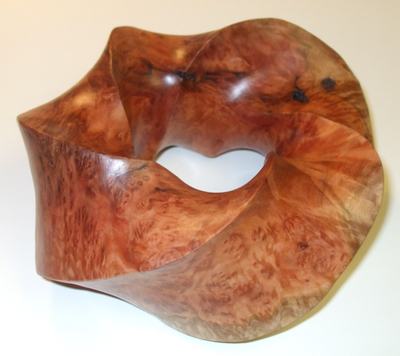
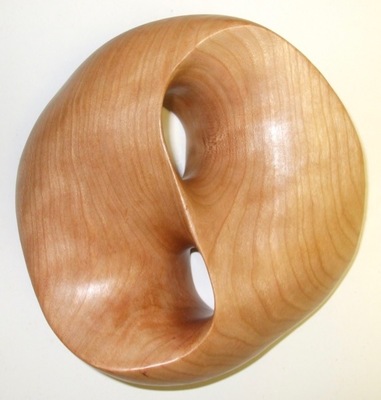
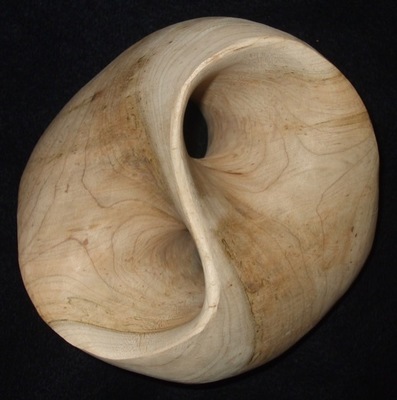
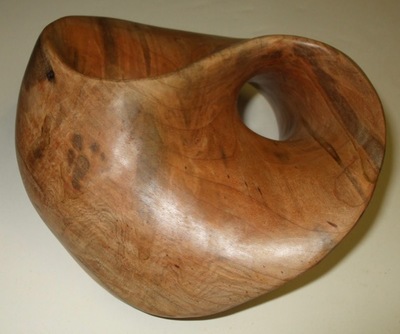
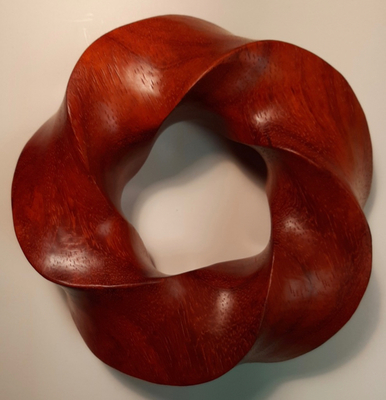
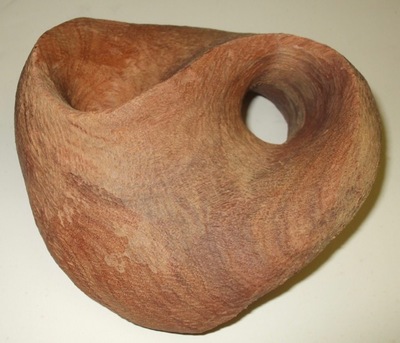
 Torus Knot, Figure 3 by Alex J. Feingold")
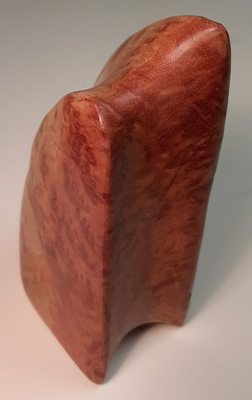
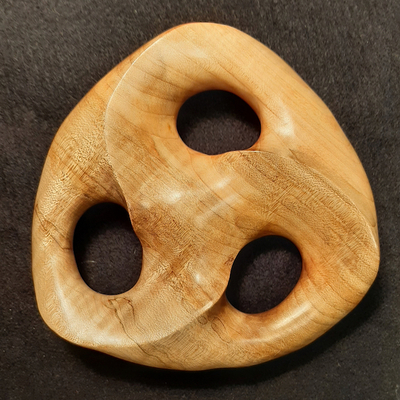
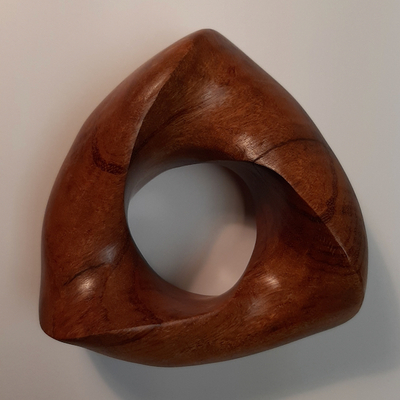
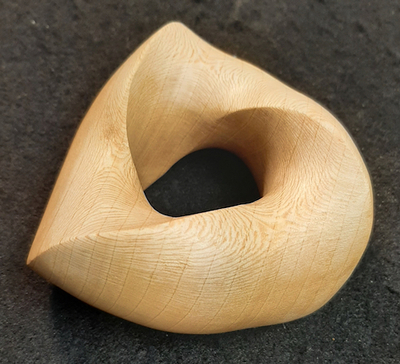
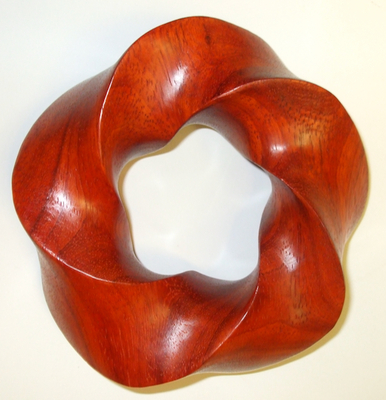
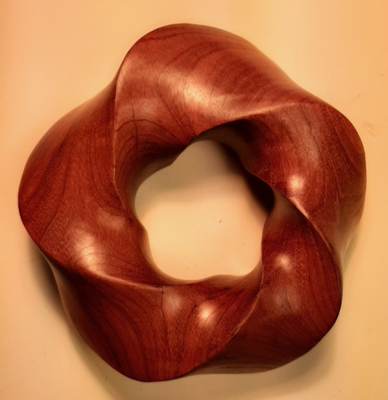
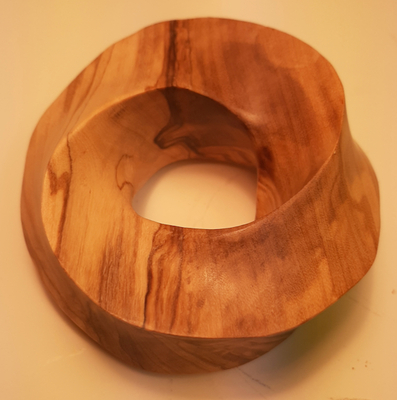
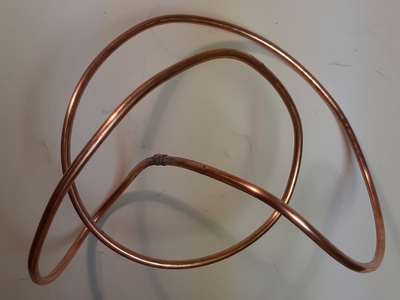
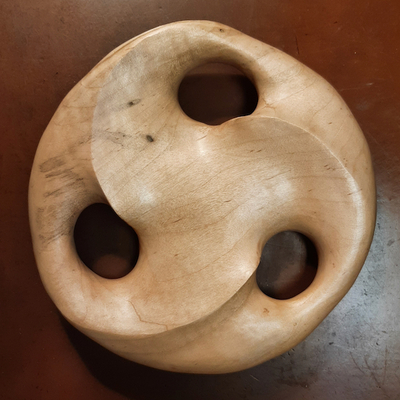
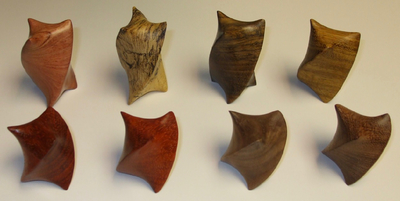
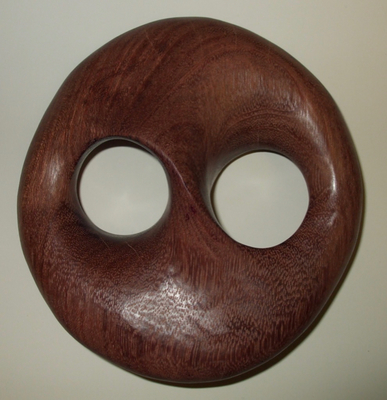
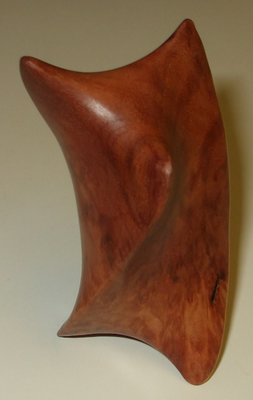
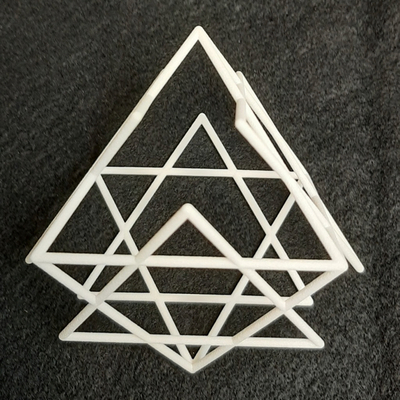
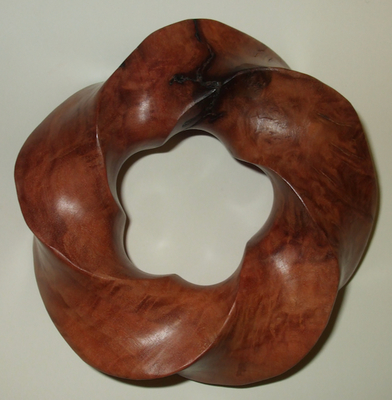
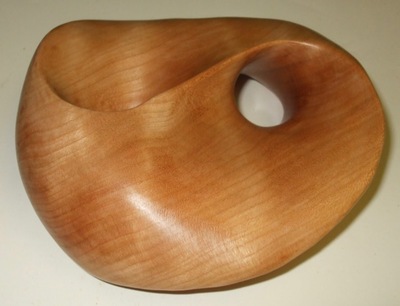
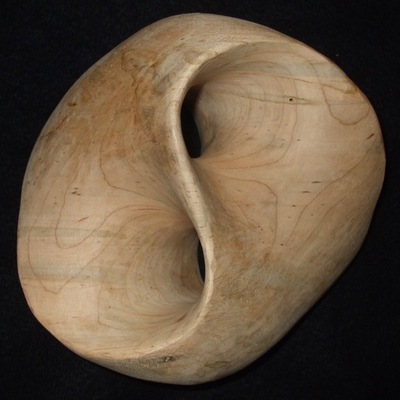
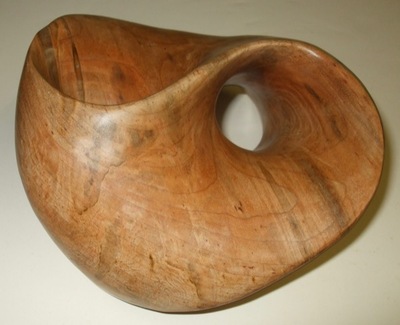
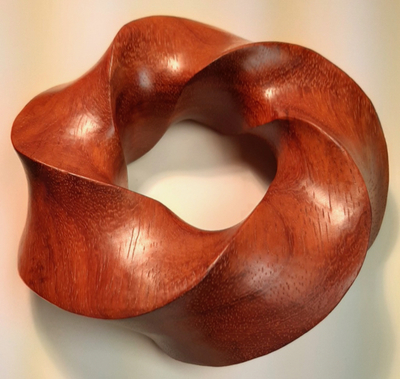
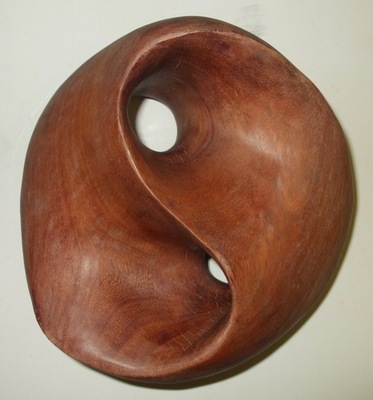
 Torus Knot, Figure 4 by Alex J. Feingold")
 Torus Knot, Figure 5 by Alex J. Feingold")
 Torus Knot, Figure 6 by Alex J. Feingold")


 by Alex J. Feingold")


Search
Browse
Author Corner
Links
To learn more, contact the site administrator at ()